Easy Dairy-Free Coffee Ice Cream is a bold and creamy homemade soft frozen dessert.
This recipe is completely no-churn and no-cook. And no need for an ice cream machine!
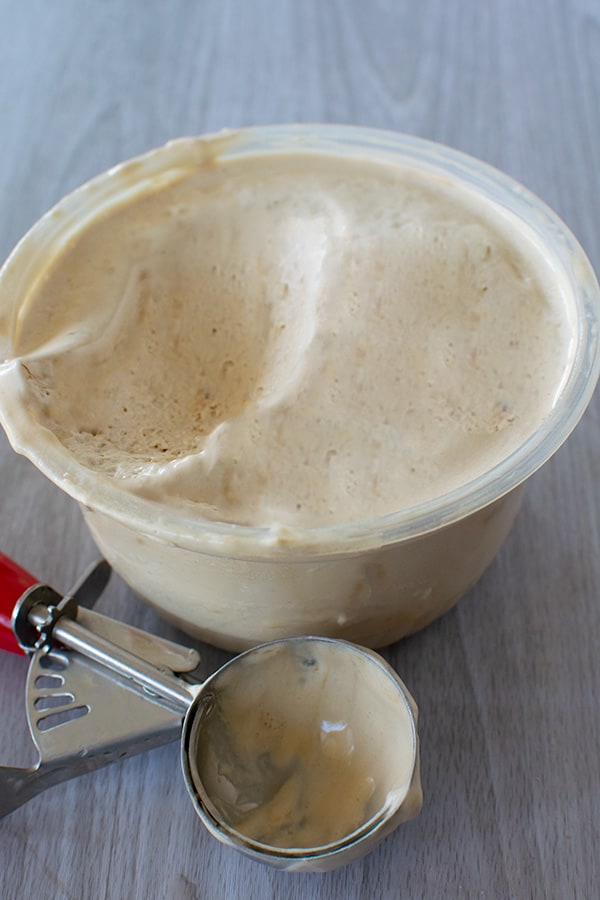
Just whip, mix, and freeze for a wonderfully sweet non-dairy coffee treat!
It’s also amazingly easy to make in one bowl with only 5 ingredients, without coconut milk or coconut cream.

A terrific soft ice-cream!
No need for an ice cream machine to make this delicious and creamy coffee ice cream.
It’s an easy no-cook, no-churn recipe for this non-dairy frozen desser!
If you love coffee, this is the perfect way to treat yourself, especially on a hot summer’s day!
It really hits the spot after a summer backyard BBQ and goes wonderfully with cake for parties.
If you don’t need dairy-free, simply switch out the whip for a dairy version instead!
Even if you’re a coffee lover, you’ve got to try these other flavors as well!
A little about ice cream
Ice cream is made by an involved process using milk, milk protein, sugar, ice, water, and air, which turns the mixture into foam as frozen air cells.
Nowadays, we have freezers in which to store our ice cream (and frozen desserts), but before refrigeration, making ice cream took quite a bit of effort and was only served for special events or on special occasions.
Before refrigeration, ice had to be cut from frozen lakes and ponds in the winter. The ice was then stored for later use (even in the summer) in ice houses or even in holes dug in the ground.
The pot-freezer method of preparing ice cream was by making it in a large bowl, which was placed in a tub filled with crushed ice and salt to reduce the temperature of the ingredients to below the freezing point of water.
French confectioners used a method similar to the pot-freezer method but used a covered pail with a handle attached to the lid (called a sorbetiere).
The hand-cranked churn replaced the pot-freezer method and also used ice and salt for cooling. This method was quicker than the pot-freezer method and produced a smoother ice cream.
Ice cream was initially sold by small businesses until a milkman, Jacob Fussell, began making small batches of it from leftover milk and cream. Fussell opened the first ice cream factory in 1851 in Pennsylvania and moved his successful business to Baltimore in 1854.
Fussell, known today as the Father of the Ice Cream Industry, opened more factories in other cities and taught the business to others who opened their own factories. The mass production of ice cream made it more affordable and more accessible to everyone and was no longer a dessert just for the rich.
Popularity increased even more with the invention of the household freezer in the 1920s, when it became much easier to store the frozen dessert.
Ice cream is a beloved dessert, and some people will go to some extreme lengths to get their hands on the treat. For example, during World War II, American fighter pilots in the South Pacific found an ingenious way of making ice cream.
They attached 5-gallon cans to their aircraft. The cans were fitted with small propellers spun by the slipstream, which drove a stirrer, which agitated the mixture, which froze in the high altitude of the planes as they flew. B-17 crews and others found similar methods of making ice cream during the war.
Check out the history of ice cream!
Equipment for your kitchen for baking and desserts (recommended):
It’s great to have everything you need at your fingertips to be able to bake or make desserts as you wish. Here is a list that I have based on items I regularly use to keep things simple.
- a stand mixer, mostly for dough
- a hand mixer
- a kitchen scale
- baking pans, including loaf pans
- mixing bowls (or just large bowls)
- cookie sheets
- pie dishes
- dry measuring cups
- liquid measuring cups
- measuring spoons
- whisks
- rubber spatulas
- rolling pins
- a baking mat for rolling out dough
- baking strips
- a good supply of baking (or parchment) paper (also round for layer cakes)
And these are ingredients that I always have to help with the spur-of-the-moment:
- flour
- white granulated sugar
- brown sugar (light/dark—I usually keep dark)
- confectioners’ sugar (powdered sugar)
- salt
- baking powder
- baking soda
- cocoa powder
- ground cinnamon
- ground nutmeg
- ground ginger
- ground cloves
- baking chocolate
- chocolate chips
- instant dry yeast
- vanilla and/or vanilla sugar
- cooking oil/cooking spray
- margarine or butter
- eggs
- honey
- instant coffee
- various extracts (real or imitation)
- whipping cream
- powdered pudding mix
- powdered sugar
- a good chocolate spread
- packaged pie dough or ready-made pie crusts
- puff pastry dough
And it’s a good idea to keep fun toppings, such as chopped walnuts, raisins, and the oh-so-important container of sprinkles.
What do you need to make dairy-free (no-churn) coffee ice cream?
I hardly ever meal plan, so I like to keep a cupboard full of seasonings, spices, veggies, and canned goods in my kitchen to use whenever the mood strikes.
But these are all you need to have on hand to make this recipe even last minute!
non-dairy whipping cream
eggs
white granulated sugar
instant freeze dried coffee
vanilla extract (a good imitation is fine)
Easy Dairy-Free Coffee Ice Cream, No-Cook, No-Churn
Homemade, no-cook, no-churn soft coffee ice cream, non-dairy. Made in one bowl and with only 5 ingredients! No ice cream machine needed!
Ingredients
- 8 ounce container non-dairy whipping cream
- 3 eggs
- 1/2 cup white granluated sugar
- 2 to 3 teaspoon instant freeze dried coffee
- 1 teaspoon vanilla extract (a good imitation is fine) or to taste
Instructions
- Whip whipping cream until stiff.
- Add coffee, eggs, sugar, and vanilla to the whipped cream.
- Whip all together well.
- Freeze for 8 hours or until stiff *
Notes
* This is a soft ice cream so it won't get hard and the freezing time depends on your freezer.
Bonus: This recipe contains no coconut milk or coconut cream so you won't have a coconutty coffee flavor.
Nutrition Information:
Yield:
4Serving Size:
1Amount Per Serving: Calories: 369Total Fat: 24gSaturated Fat: 14gUnsaturated Fat: 9gCholesterol: 204mgSodium: 71mgCarbohydrates: 33gSugar: 33gProtein: 6g