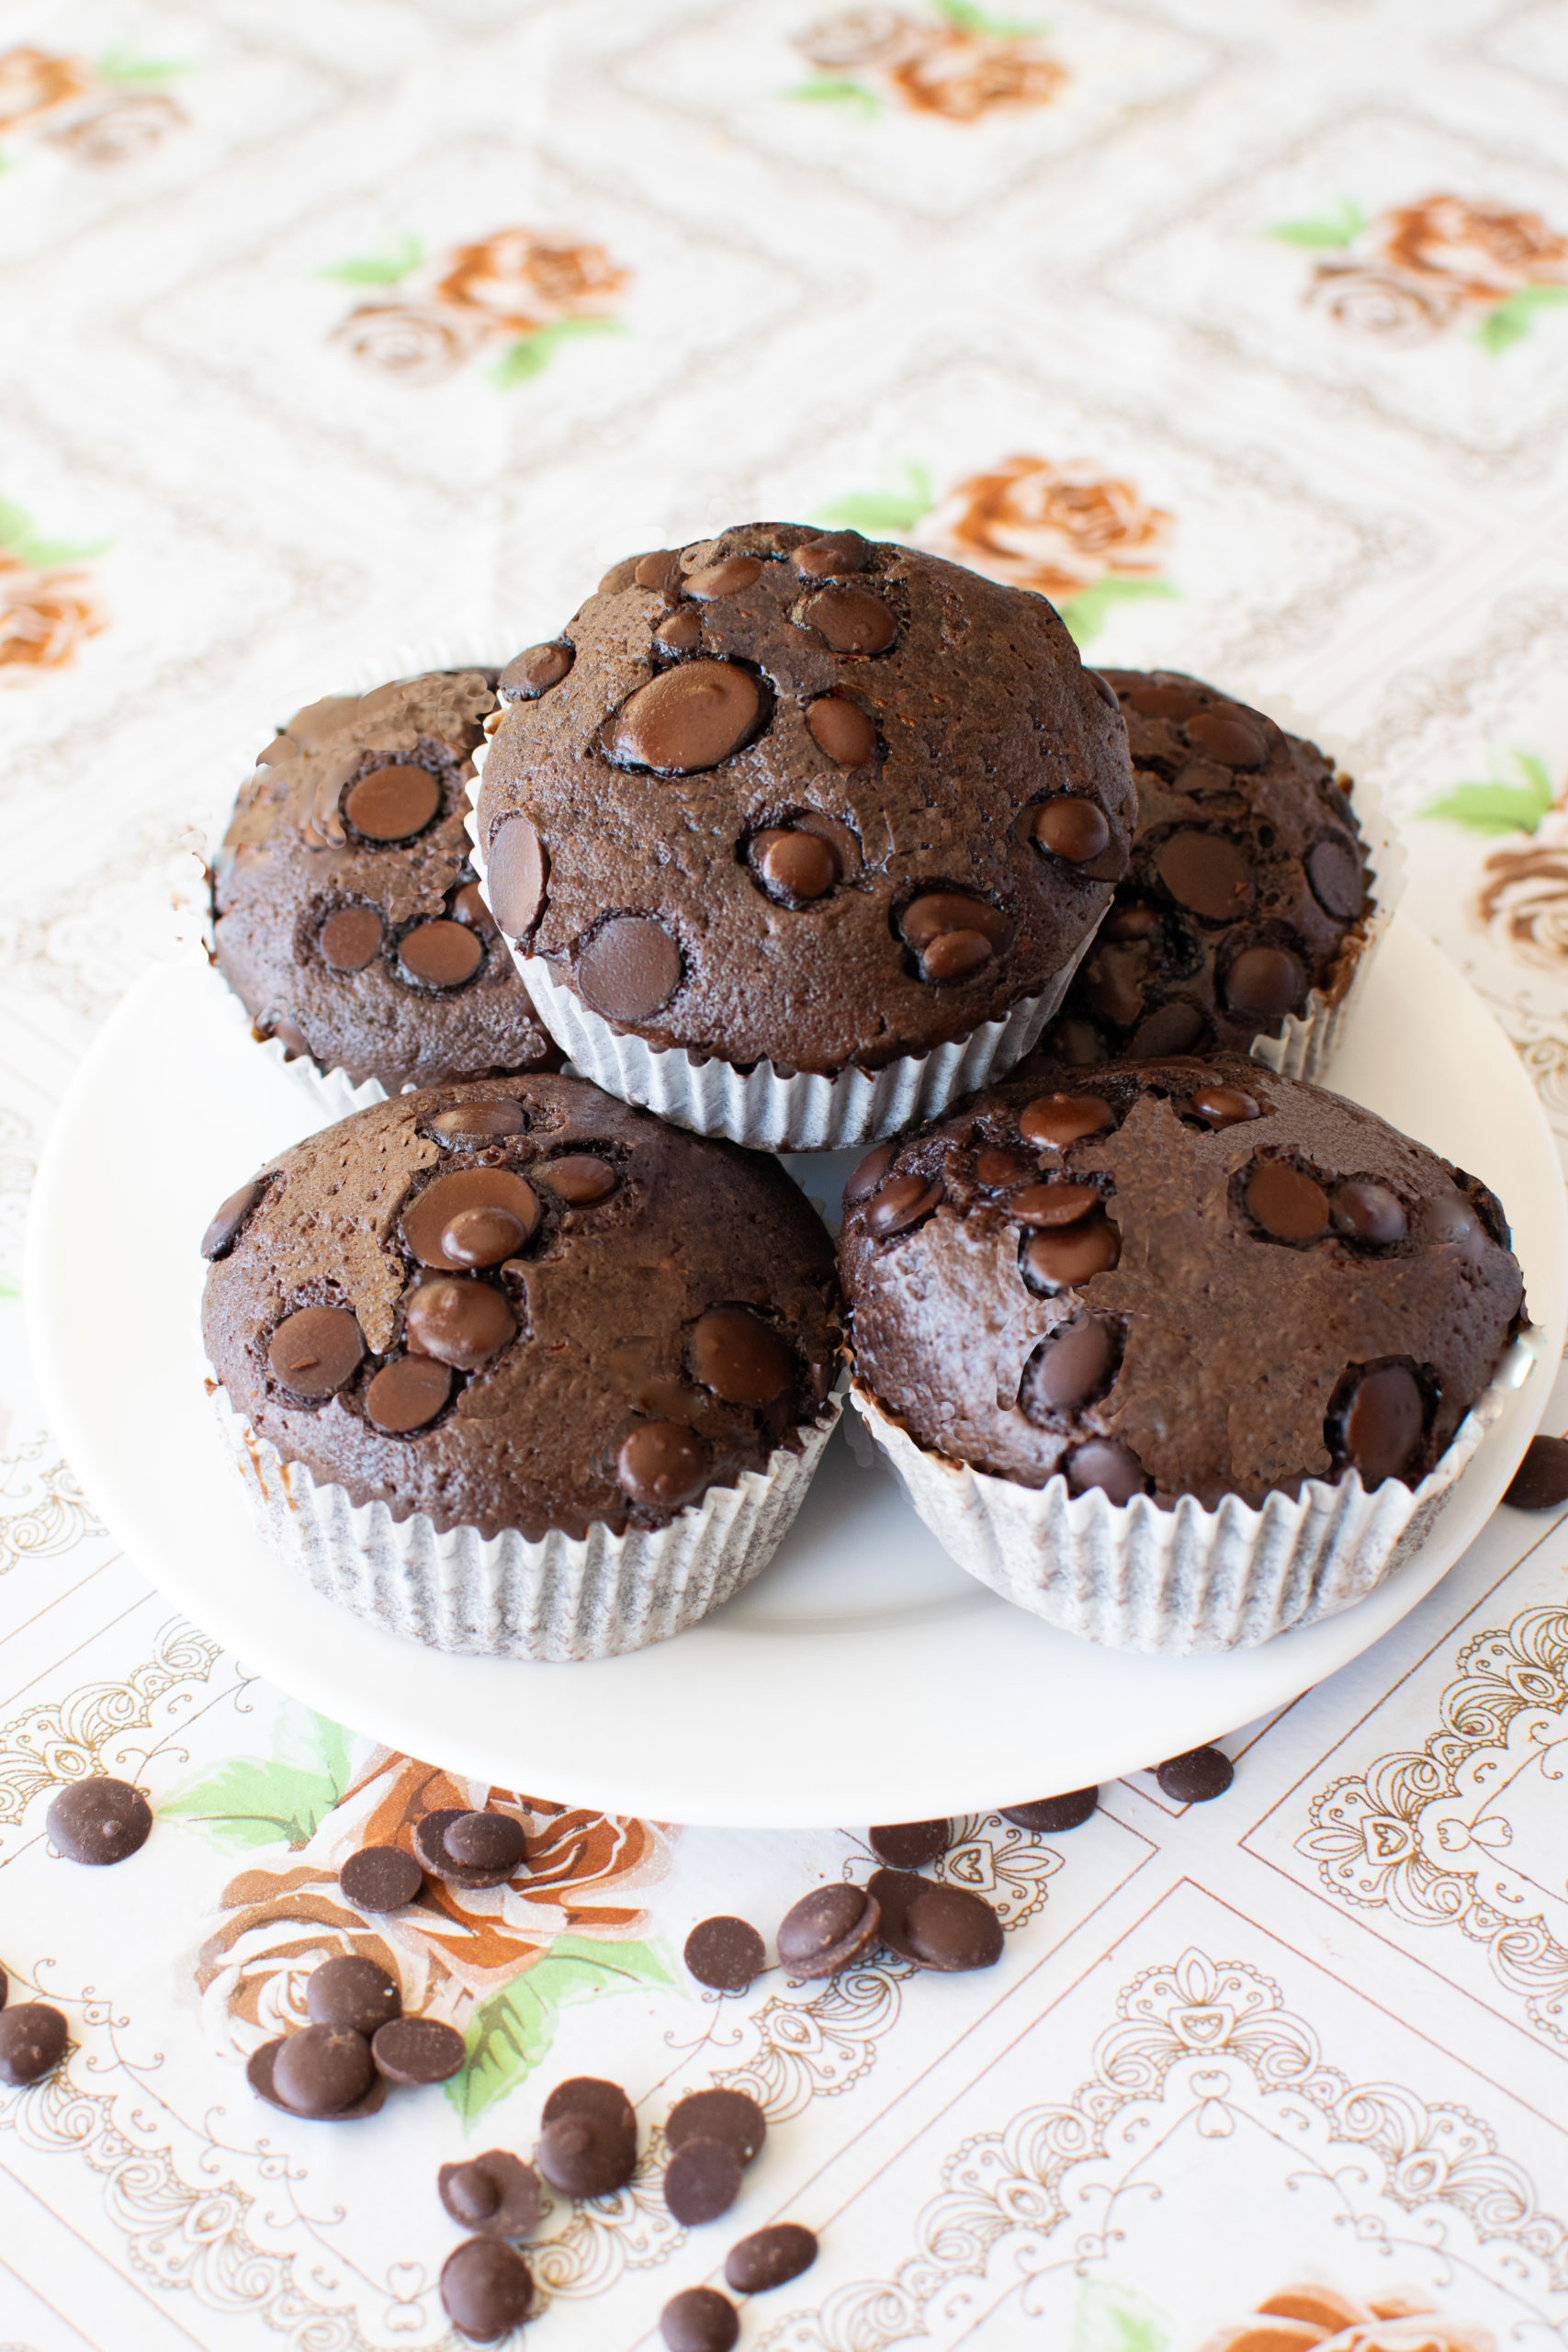
Easy Dairy-Free Banana Chocolate Chip Muffins are deliciously moist. This simple, one-bowl recipe comes together using overripe bananas and rich dairy-free chocolate chips, made without butter or milk.
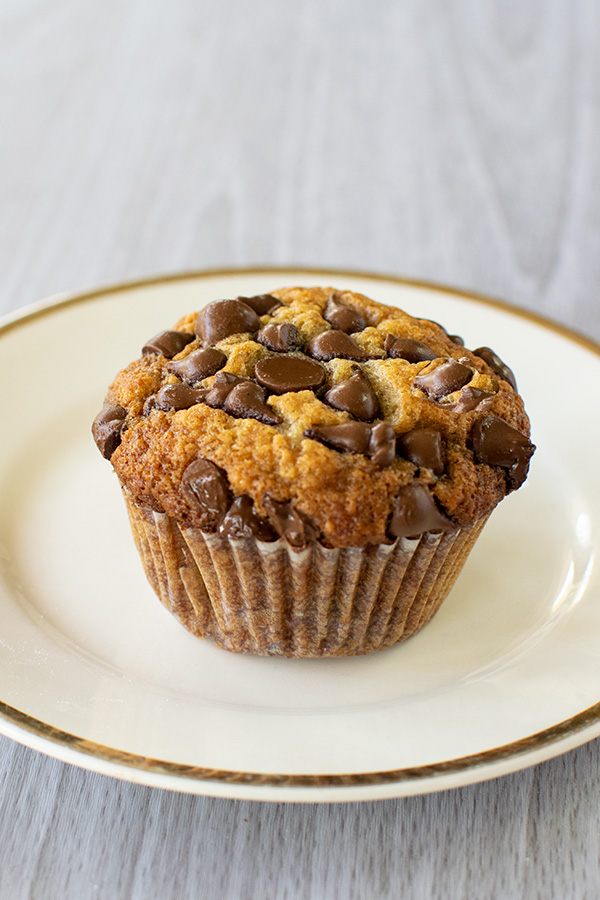
Easy Banana Chocolate Chip Muffins are simple to make. Just mix the ingredients in one bowl, pour them into lined muffin tins, and bake.
You do not need any fancy equipment or specialty ingredients. They're made with oil instead of butter, and they're great for anyone avoiding dairy. They also contain no milk or margarine.
And they're a terrific way to get rid of your overripe bananas instead of throwing them out! Because the more overripe the bananas are, the stronger and sweeter the banana flavor will be.
Whether you need a cozy breakfast, a quick afternoon grab-and-go snack, or a comforting treat at the end of a busy day, these moist banana chocolate chip muffins are perfect.
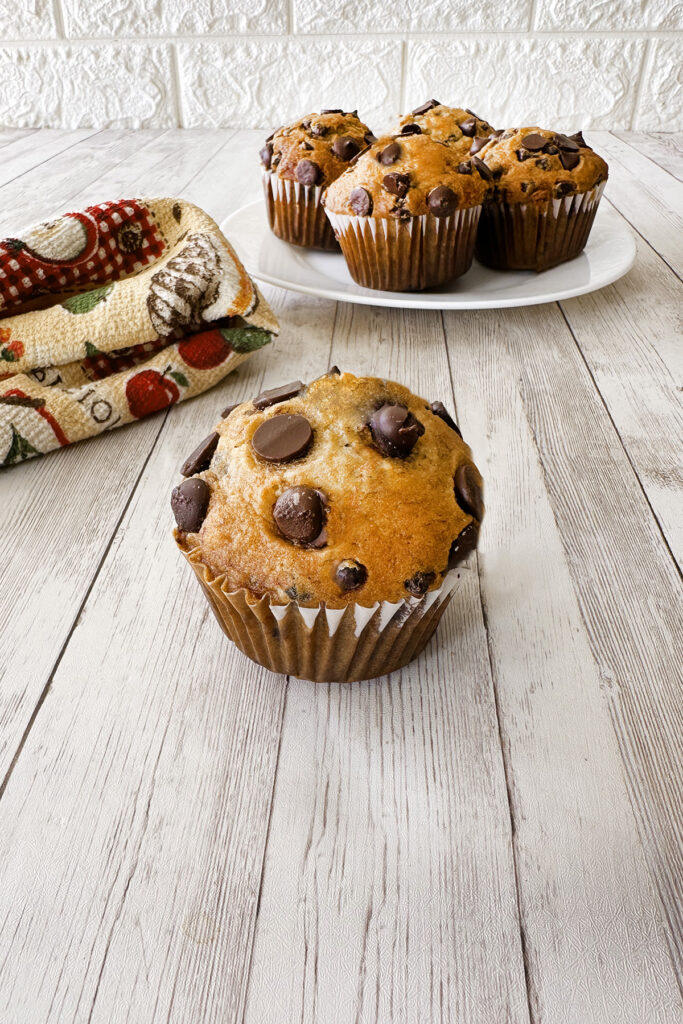
Tip: If you want tall, bakery-style domed muffins, bake them at a higher heat of 450°F for the first 5 minutes, then lower the temperature to 350°F for the remainder of the time until a toothpick inserted into the center comes out clean.
FAQs for Easy Dairy-Free Banana Chocolate Chip Muffins
Can I use frozen bananas for these muffins?
Yes, thawed overripe frozen bananas work great. Just make sure to drain any excess liquid that collects during thawing before mashing them into your batter. Or if you have already added the banana with the liquid, just add a little more flour to compensate.
How do I store leftover banana chocolate chip muffins?
Store the muffins in an airtight container at room temperature for up to 3 days, or refrigerate them for up to 5 days. You can also freeze them for up to 2 months by wrapping them tightly or placing them in a freezer-safe bag.
Can I make this into a loaf instead of muffins?
Yes, you can pour the batter into a greased loaf pan. Just increase the baking time to roughly 45 to 55 minutes, or until a wooden toothpick inserted into the center comes out clean.
Do I need an electric mixer for this recipe?
No, an electric mixer is not needed. This is a simple one-bowl recipe that only requires a fork to mix the ingredients together. Just make sure to get out most of the banana lumps if there are any.
Can I use melted vegan butter or margarine instead of oil?
You can substitute equal parts melted vegan butter or dairy-free margarine for the oil in this recipe, though oil helps keep the muffins moist.
What equipment is recommended to have for convenient baking?
- a stand mixer, which I use mostly for dough and sometimes for whipping
- a hand mixer (for things that aren't dough, and I don't want to mix manually)
- a kitchen scale
- different sizes and shapes of baking pans, including loaf pans
- mixing bowls (or just large bowls-I have plastic, glass, and metal)
- cookie sheets
- pie dishes
- dry measuring cups
- liquid measuring cups
- measuring spoons
- whisks
- rubber spatulas (really good for when you don't want to leave anything in the bowl)
- rolling pins
- a baking mat for rolling out dough
- baking strips
- muffin/cupcake tins + liners
- a good supply of baking (or parchment) paper (also round for layer cakes)
General FAQs and information about baking:
Why do recipes have salt in the ingredients of baked goods?
Even though salt tends to make foods, well, salty, it actually plays other roles in baking as well.
For example, the right amount of salt balances flavors in baked goods; it can bring out the sweetness of sugar and, at the same time, prevent them from tasting overly sweet. It also can help dull the bitterness of cocoa.
Salt prevents baked goods from tasting bland, while it balances the richness of the fats. It also helps develop flavor in yeast breads and works with proteins to strengthen gluten and make it more elastic.
Salt also slows down yeast fermentation because it prevents the yeast from eating up the sugars too quickly, which otherwise would cause the dough to rise too fast and then ultimately collapse, causing bread to come out flat instead of fluffy.
Salt helps baked goods stay a little fresher for a little longer and helps delay mold from growing on them.
What is the difference between baking soda and baking powder?
Baking soda and baking powder are both synthetic leavens that help baked goods rise, but there is a difference between them.
Baking soda is pure sodium bicarbonate, which needs another ingredient that is acidic in order to be activated. When the baking soda touches the acid, it creates a carbon dioxide gas, which helps the baked good rise. Baking soda is between 3 and 4 times stronger than baking powder, and if too much baking soda is used, your baked good will end up with a metallic flavor.
Baking powder is baking soda that is already mixed with an acid and a stabilizer and will be activated by moisture and heat. Nowadays, baking powder is called double-acting because it activates twice-once when it gets wet (when you mix the ingredients together) and again when it heats in the oven.
Replacing one with the other can be tricky, and it's not recommended. However, if you have no choice, then do solid research for substituting one for the other for the baked good you are preparing so you don't ruin it.
What do eggs do in baking?
Eggs are made up of two parts: the whites and the yolks (the yellow).
Egg whites are made up of protein that sets when heated and helps baked goods hold their structure. The yolks are made up of fats and vitamins and help ingredients bond.
Eggs also help baked goods rise as well as keep them moist.
It is important to have the right amount of eggs when baking, because if there are too many eggs in a recipe, this can cause a rubbery, dense texture, and if there are too few eggs, this can cause a crumbly, dry texture.
The different parts of the egg will provide different textures to baked goods; using the entire egg in baking will provide moisture and help the baked good rise evenly, using extra yolks will create richer, denser textures, and extra whites will add fluffiness but may create a drier texture.
What is the difference in using oil vs. butter or margarine?
Both margarine and butter are solid fats at room temperature, and both contain more saturated fats than oil.
While margarine and butter will change from a solid to a liquid when heated, they will change back to solids when cooled again. Oil stays liquid at all temperatures. Oil also coats flour better in the preparation process before baking.
Butter "creams" better than margarine, but one cannot cream oil at all.
When converting a recipe from butter or margarine to oil, the general conversion rate is 1 to ¾ (although if you are doing more than one batch, you might need to reduce the oil because I have found that baked goods come out oily in this case).
And when converting from oil to margarine or butter, typically the ratio is 1 to 1¼, and from margarine or butter to oil, the ratio is typically 1 to ¾.
What is the difference between real vanilla extract and imitation vanilla?
Real vanilla is made from soaking vanilla beans in alcohol, imitation vanilla is synthetic, and real vanilla costs quite a bit more than imitation. Whether or not there will be a taste difference in your baking depends on the baked good, so do some research before you decide.
I personally always use the imitation as long as I have a really good brand because it's not worth it to me to spend the extra money.
I can certainly get by without a lot of the above, but it makes baking so much simpler when I just have whatever I need at my fingertips.
Note: The measuring cups and spoons should match as far as the measurements are concerned. Not all cups are properly marked, and this can throw your measurements off.
What ingredients are good to keep in my kitchen for baking simple last-minute desserts?
- flour
- white granulated sugar
- brown sugar (light/dark-I usually keep dark)
- confectioners' sugar (powdered sugar)
- salt
- baking powder
- baking soda
- cocoa powder
- ground cinnamon
- ground nutmeg
- ground ginger
- ground cloves
- baking chocolate
- chocolate chips
- instant dry yeast
- vanilla and/or vanilla sugar
- cooking oil/cooking spray
- margarine or butter
- eggs
- honey
- instant coffee
- various extracts (real or imitation)
- a variety of fillings, frostings, and toppings:
- whipping cream
- packaged pie dough or ready-made pie crusts
- puff pastry dough
Tips for baking
Preparing the batter
As obvious as that may sound (except to people like me), following instructions when baking is important.
It seems that all too often, bloggers will add extra steps or add extra ingredients, unnecessarily complicating the recipes.
Nonetheless, sometimes what seems unnecessary can be helpful.
That noted, the best way to start, unless directed otherwise, is by putting the dry ingredients in the bowl first and combining them together and then adding the wet ingredients.
I haven't found that it matters much what order ingredients are put in the bowl when it comes to dough, however, with batter, it can make a difference, and it is a good practice to add the wet ingredients, one at a time, blending lightly in between, mixing slowly and thoroughly.
Dumping all of the ingredients in before mixing can leave flour clumps, which may not dissolve while baking and mixing too quickly will add air bubbles, which can create air gaps in the cake
Flour clumps, especially the larger ones, may not bake into your cake, and you may find them in your slices. If you have them, remove as many as you can before baking. Using a strainer helps. (Yes, this has happened to me.)
If you find you do have a lot of little air bubbles, gently tap the side of the bowl with your fingers before you pour into the pan (you can do this with the pan if you didn't notice the bubbles until you already poured the batter).
The tapping will pop them (you can actually see this). You may not get rid of them all, but the bigger ones are more important to pop. The bubbles seem to be more of a problem with thinner batter and with thicker batter.
The batter
Before you pour the batter into the pan(s), make sure to coat well with something to help prevent your final products from sticking.
There are various ways to do this, depending on your preference. You can use some type of fat, such as oil or cooking spray, margarine, or butter, with or without sprinkling flour as well. Or you can use baking paper.
My personal preference is to place baking paper on the bottom of the pan(s) and then coat with cooking spray, or vice versa. Baking paper can come in individual sheets or in rolls. For round pans, you can buy a suitable size that will fit right on the bottom of the pan. OR you can place the pan on top of the baking paper, trace around the bottom of the pan, and cut to size.
If you use baking paper, you might find that it won't stay at the bottom of the pan properly while you are trying to pour the batter in, and there are a couple of tricks I use to help. One is to cut the paper so it fits in the pan like a lining, and the other is to wet it so it sticks (the latter is quicker, so I normally use that one).
When making cupcakes or muffins, you can coat or you can use cupcake paper. I have found that with some brands, however, while the paper won't stick to the pan, it will stick to the cupcake, so you might want to lightly spray the paper before you pour in the batter.
Cooling
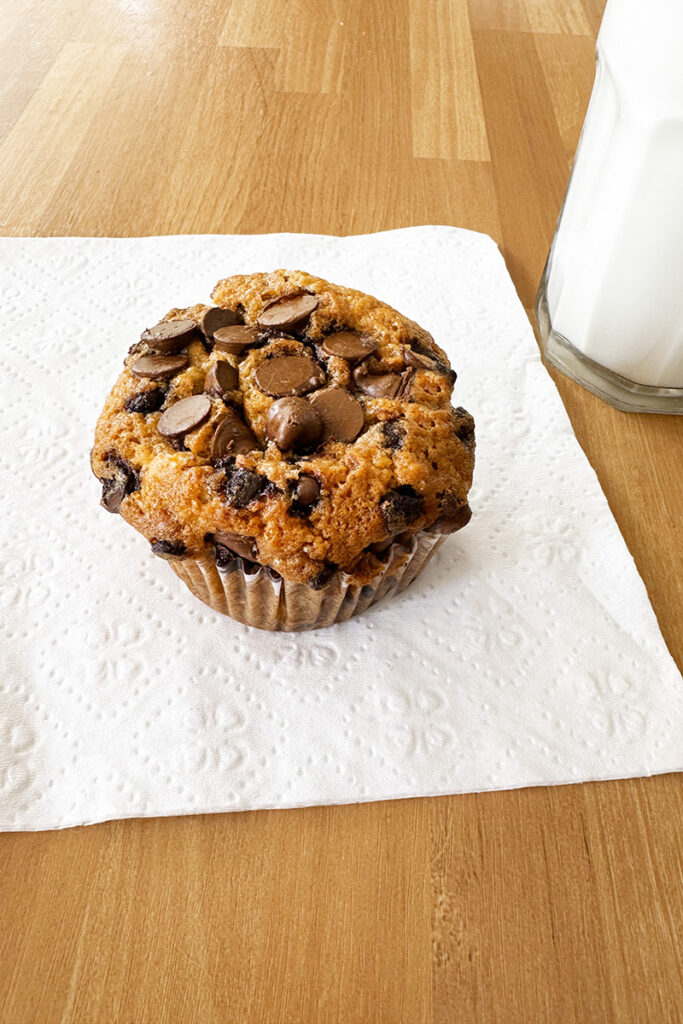
You know your baked good is ready when a toothpick can slide cleanly and easily in and out of the baked item (or when the top is a little firm and springy), it can be removed from the oven.
Leave to cool for 10-15 minutes.
For cupcakes and muffins, I recommend using cupcake paper, and after you have used the knife to loosen them from the cup, you should be able to just pop them out carefully using the same knife.
Love baked goods with banana?
Want to make chocolate chip muffins without the banana?
Dairy-Free Chocolate chip muffins
Easy Dairy-Free Banana Chocolate Chip Muffins Recipe
Delicious and moist banana muffins are made with oil, not butter, so they're dairy-free!
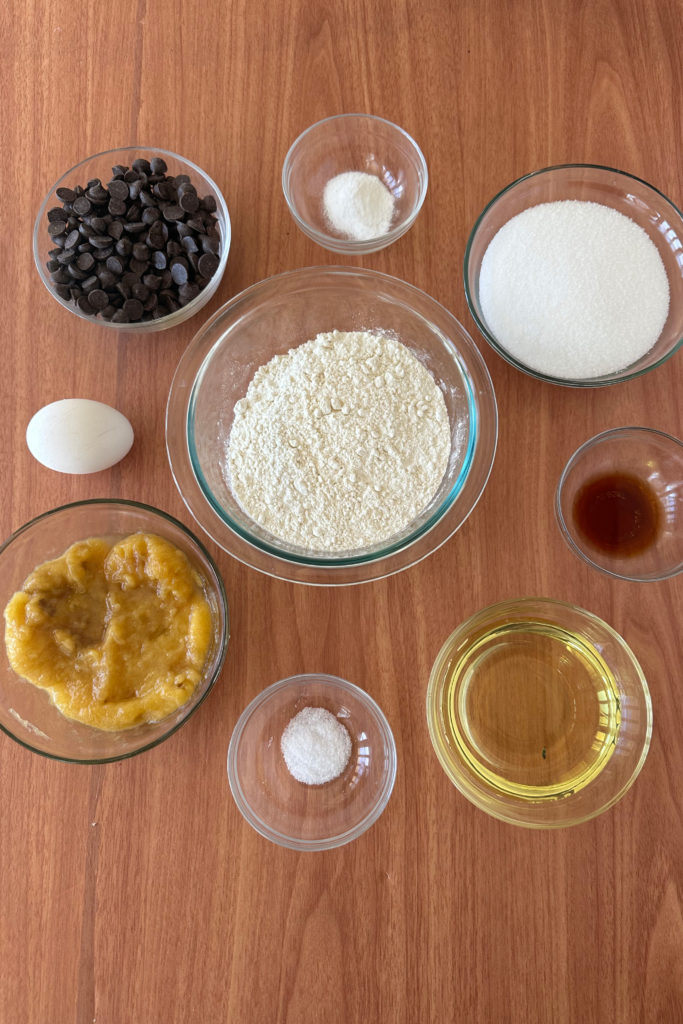
Ingredients
- 1 ½ cups white all-purpose flour
- 1 cup white sugar
- 1 teaspoon baking soda
- ½ teaspoon salt
- 1 egg
- ½ cup oil
- 1 tablespoon vanilla extract or flavoring
- 3 medium over-ripe bananas, mashed*
- 1 ½ cups chocolate chips
Instructions
- Mix together the flour, sugar, baking soda, and salt.
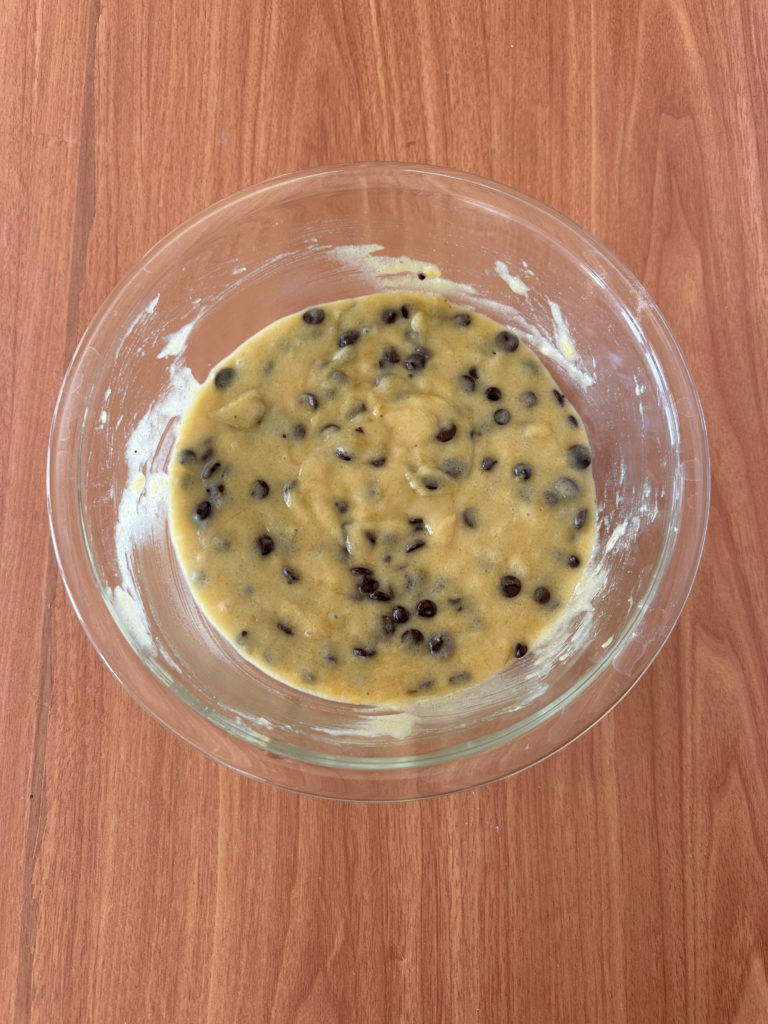
- Add the egg, oil, vanilla, and bananas, and combine well.
- Mix in 1 cup of the chocolate chips.
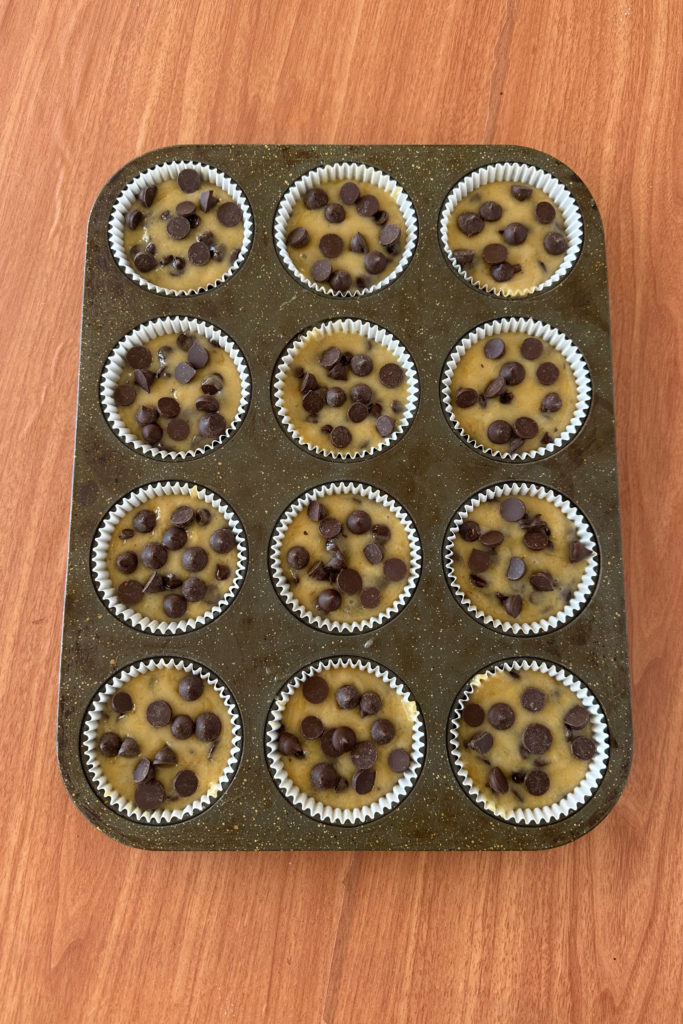
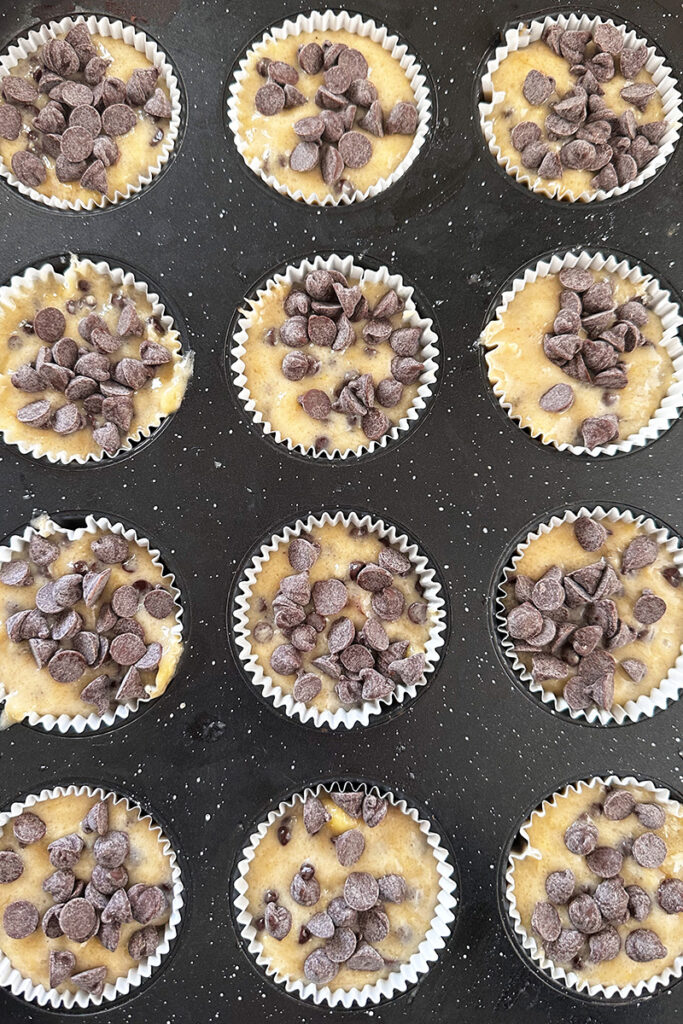
- Using a large spoon or ladle, pour batter evenly into 12 paper-lined or greased standard muffin wells. Take from the remaining chocolate chips and sprinkle on top.
- Place in oven that has been preheated to 350° F.**
- Bake for 15-20 minutes or until a toothpick inserted into the center comes out clean (normally the top will have browned slightly, but sometimes the middle is still not done).
Notes
*The riper they are, the more flavor they have.
**If you want the muffins to have a smooth dome, then bake them at 425°F for the first 5 minutes or so and then reduce the heat to 350°F.
Nutrition Information:
Yield:
16Serving Size:
1Amount Per Serving: Calories: 352Total Fat: 15gSaturated Fat: 5gUnsaturated Fat: 11gCholesterol: 12mgSodium: 174mgCarbohydrates: 54gFiber: 3gSugar: 31gProtein: 4g