These Dairy-Free English Muffins are a classic and cozy homemade breakfast favorite, made without milk or butter, that you can bring fresh to your table.
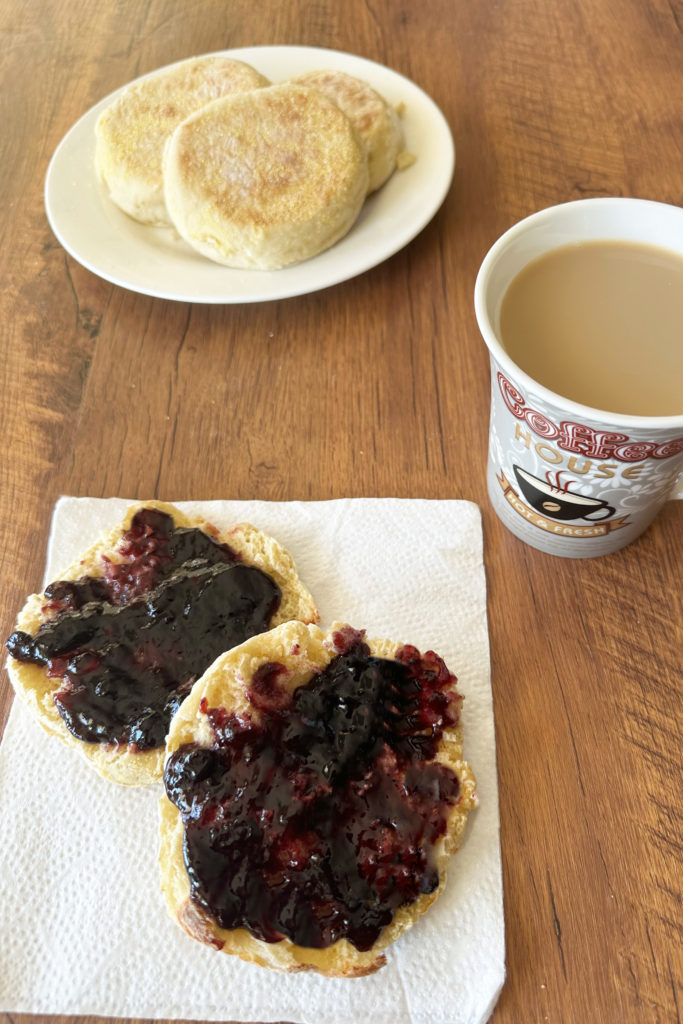
Making dairy-free English muffins at home is surprisingly simple.
With just a few basic pantry staples and warm water instead of milk, you can whip up a batch of warm, chewy muffins that toast up perfectly.
Once they're ready, all you have to do is toast them and add whatever spread you like for a delicious breakfast or light meal anytime.
And because this recipe uses oil, they're made without milk, butter, or margarine.
They're very easy to make. The longest part is just waiting for the dough to rise while you do something else!
Jump to:
What is needed to make homemade dairy-free English muffins?
all-purpose flour
active dry yeast
white granulated sugar
salt
warm water
oil
egg
cornmeal or semolina (or farina)
Frequently Asked Questions (FAQs)
Frequently Asked Questions (FAQs)
What makes English muffins different from regular muffins?
English muffins are yeast-leavened breads that are cooked on a griddle or skillet rather than baked in the oven like traditional muffins. They have a chewy texture and a characteristic split interior with plenty of nooks and crannies.
Can I make English muffins without milk?
Yes. This recipe uses warm water instead of milk, making the English muffins completely dairy-free without sacrificing their soft, chewy texture.
How do I get nooks and crannies in English muffins?
The nooks and crannies develop naturally from the yeast-leavened dough. Handle the dough gently and avoid overworking or excessively flattening the muffins before cooking. Splitting the muffins with a fork rather than cutting them with a knife also helps preserve their characteristic craggy interior.
How do I know when English muffins are done?
English muffins should be golden brown on both sides and cooked through in the center. If they brown too quickly, reduce the heat so the inside has time to cook without burning the outside.
How should I store homemade English muffins?
Store cooled English muffins in an airtight container or bag at room temperature for up to 3 days. For longer storage, freeze them in a freezer-safe bag or container.
Can I freeze homemade English muffins?
Yes. Let the English muffins cool completely, then place them in a freezer-safe bag or container and freeze for up to 2 months. Thaw them at room temperature and toast before serving.
What is interesting about English muffins?
The original "English" muffin, or griddle muffin, was around since the 1700s at least and was a soft, doughy, flat bread cooked on a griddle rather than baked in the oven and was softer and doughier than
They were a staple in working-class homes in Victorian London and sold on street corners by "Muffin Men" who would walk through neighborhoods advertising their freshly baked goods by ringing a bell.
What Americans call an English muffin was actually created in 1874 by an English immigrant named Samuel Bath Thomas.
Thomas opened a bakery in Manhattan, modified the recipe, and called them "toaster crumpets," but the American public began calling them English muffins to differentiate them from quick-bread muffins.
Today, of course, you can get Thomas' English muffins in the grocery store with all of their nooks and crannies.
Here are some other breakfast ideas!
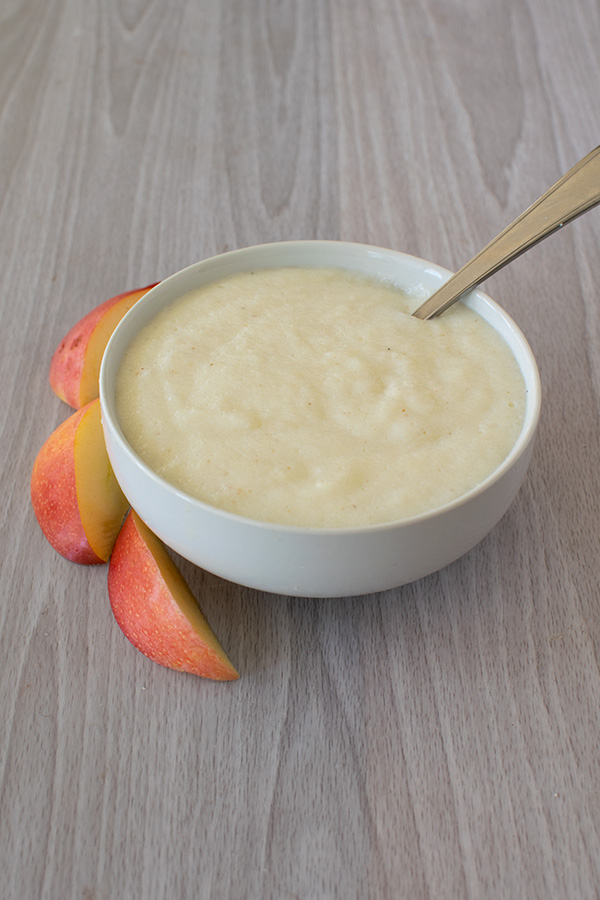
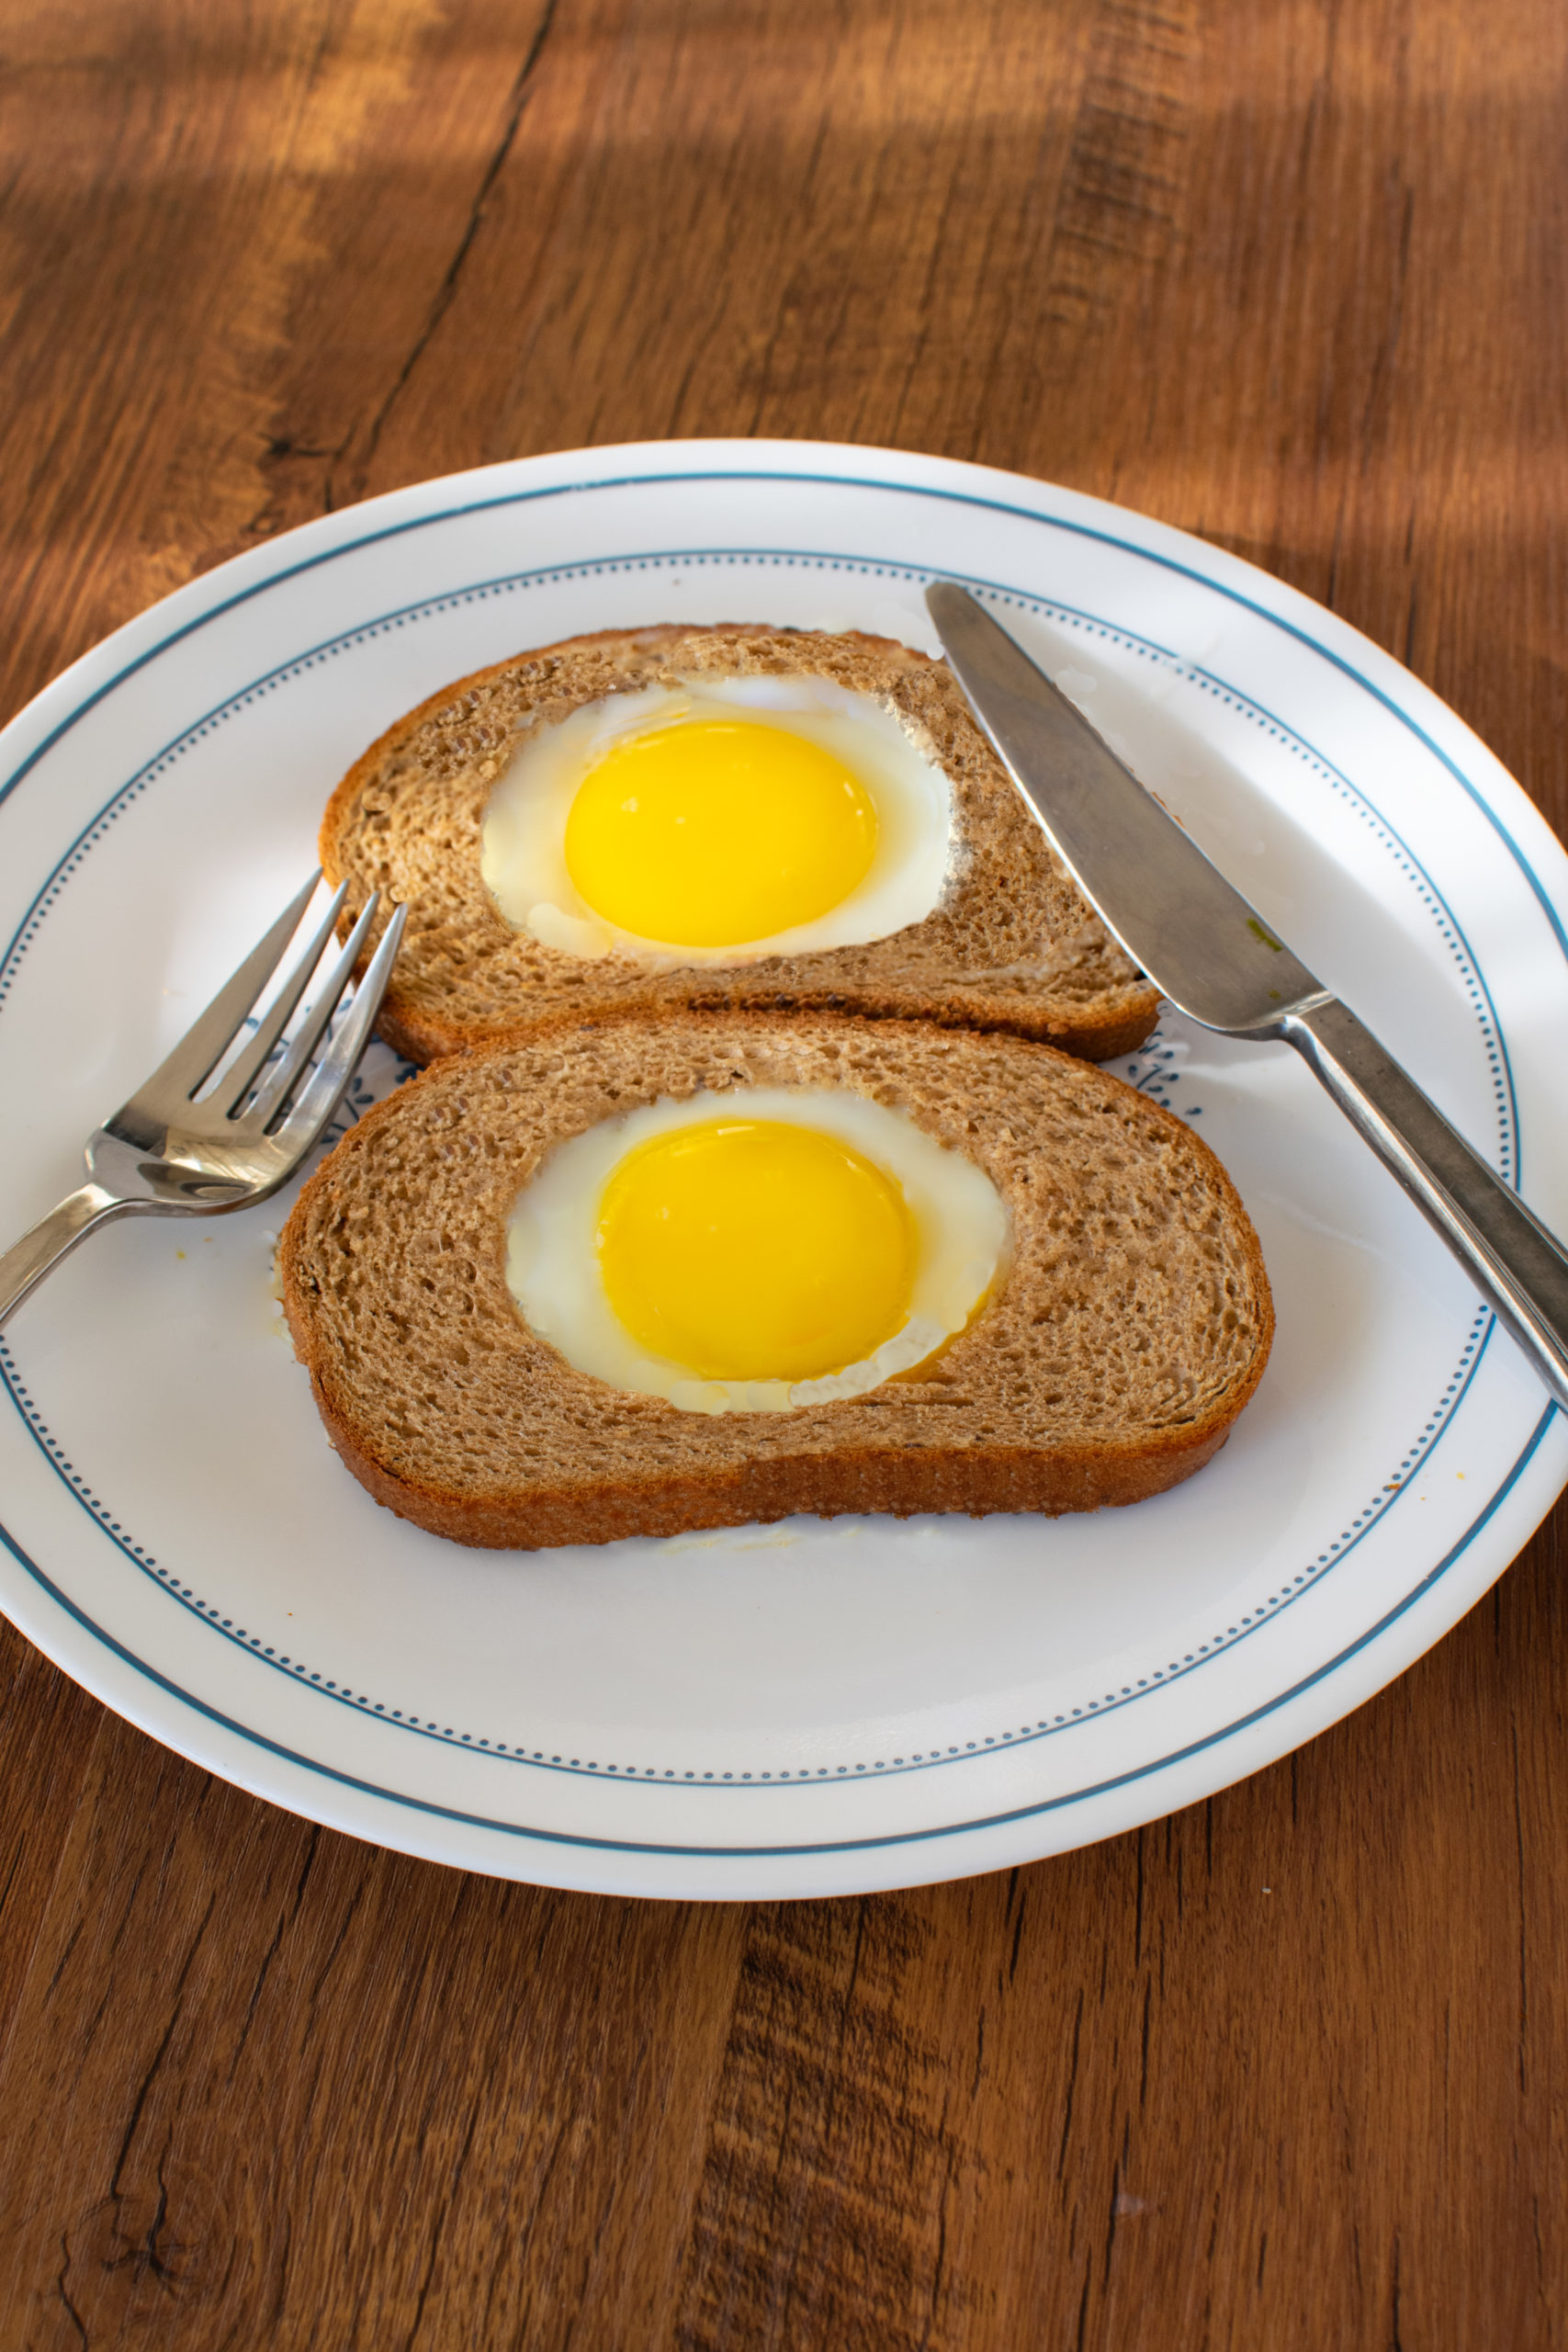
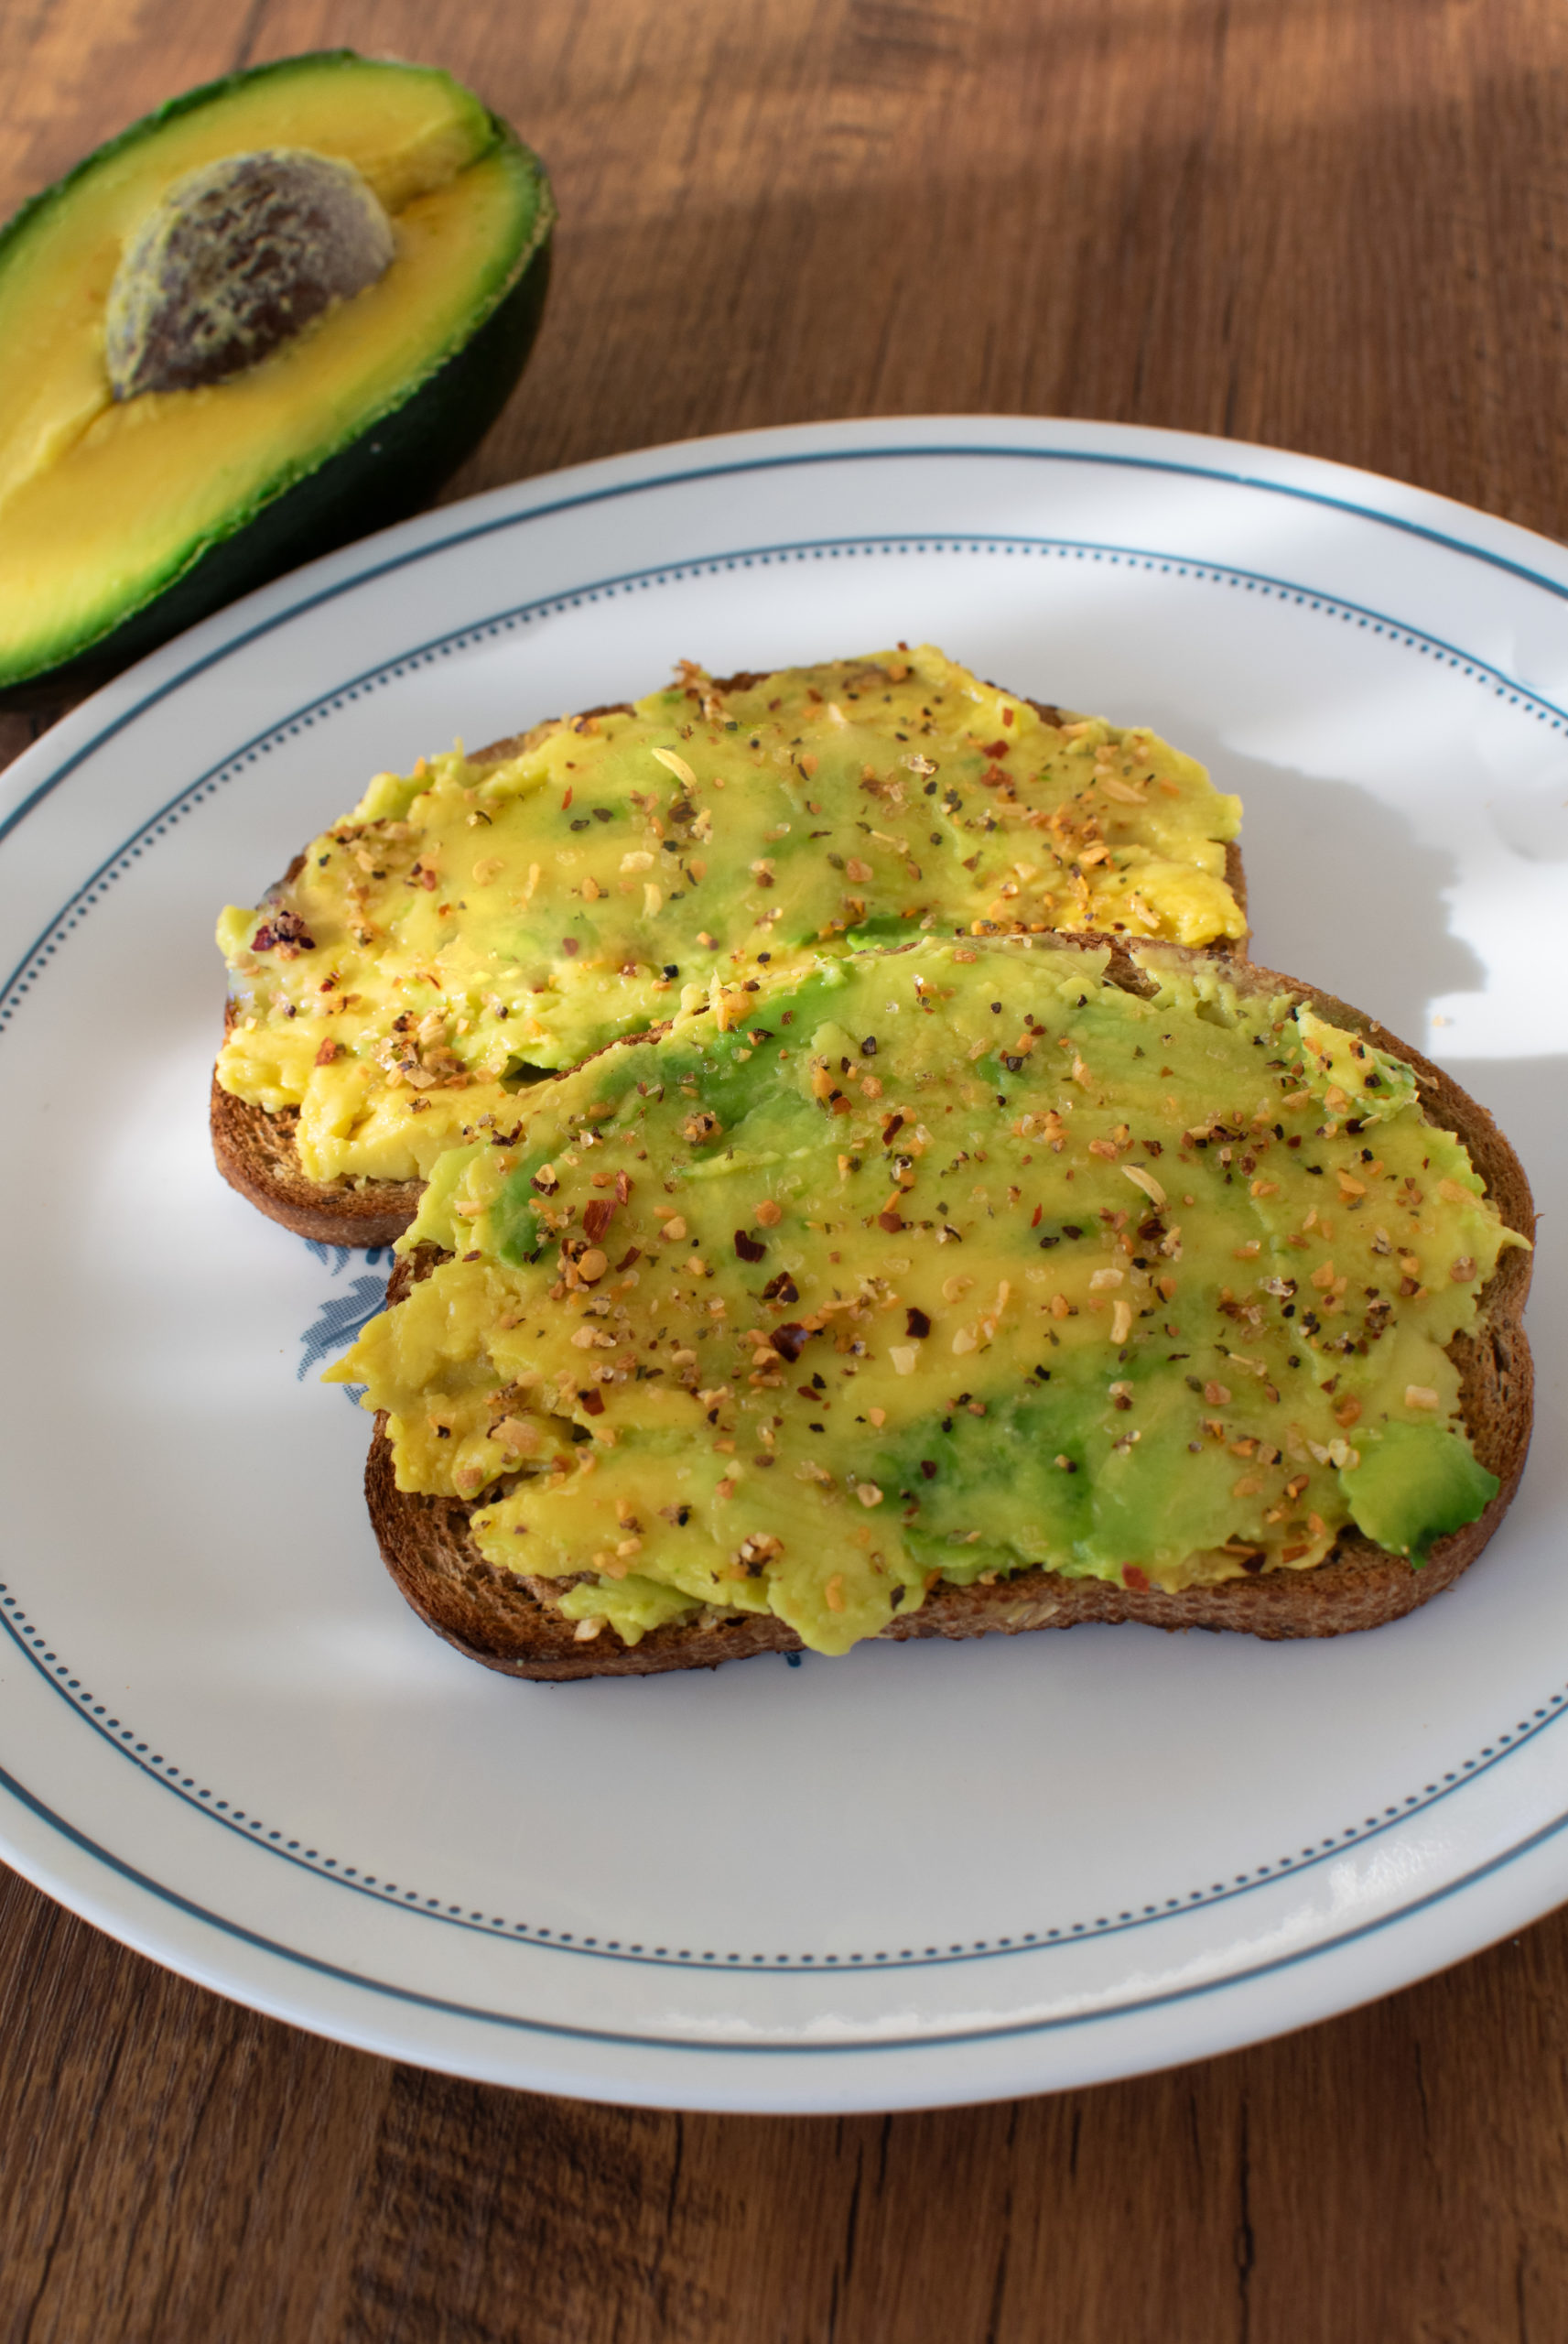
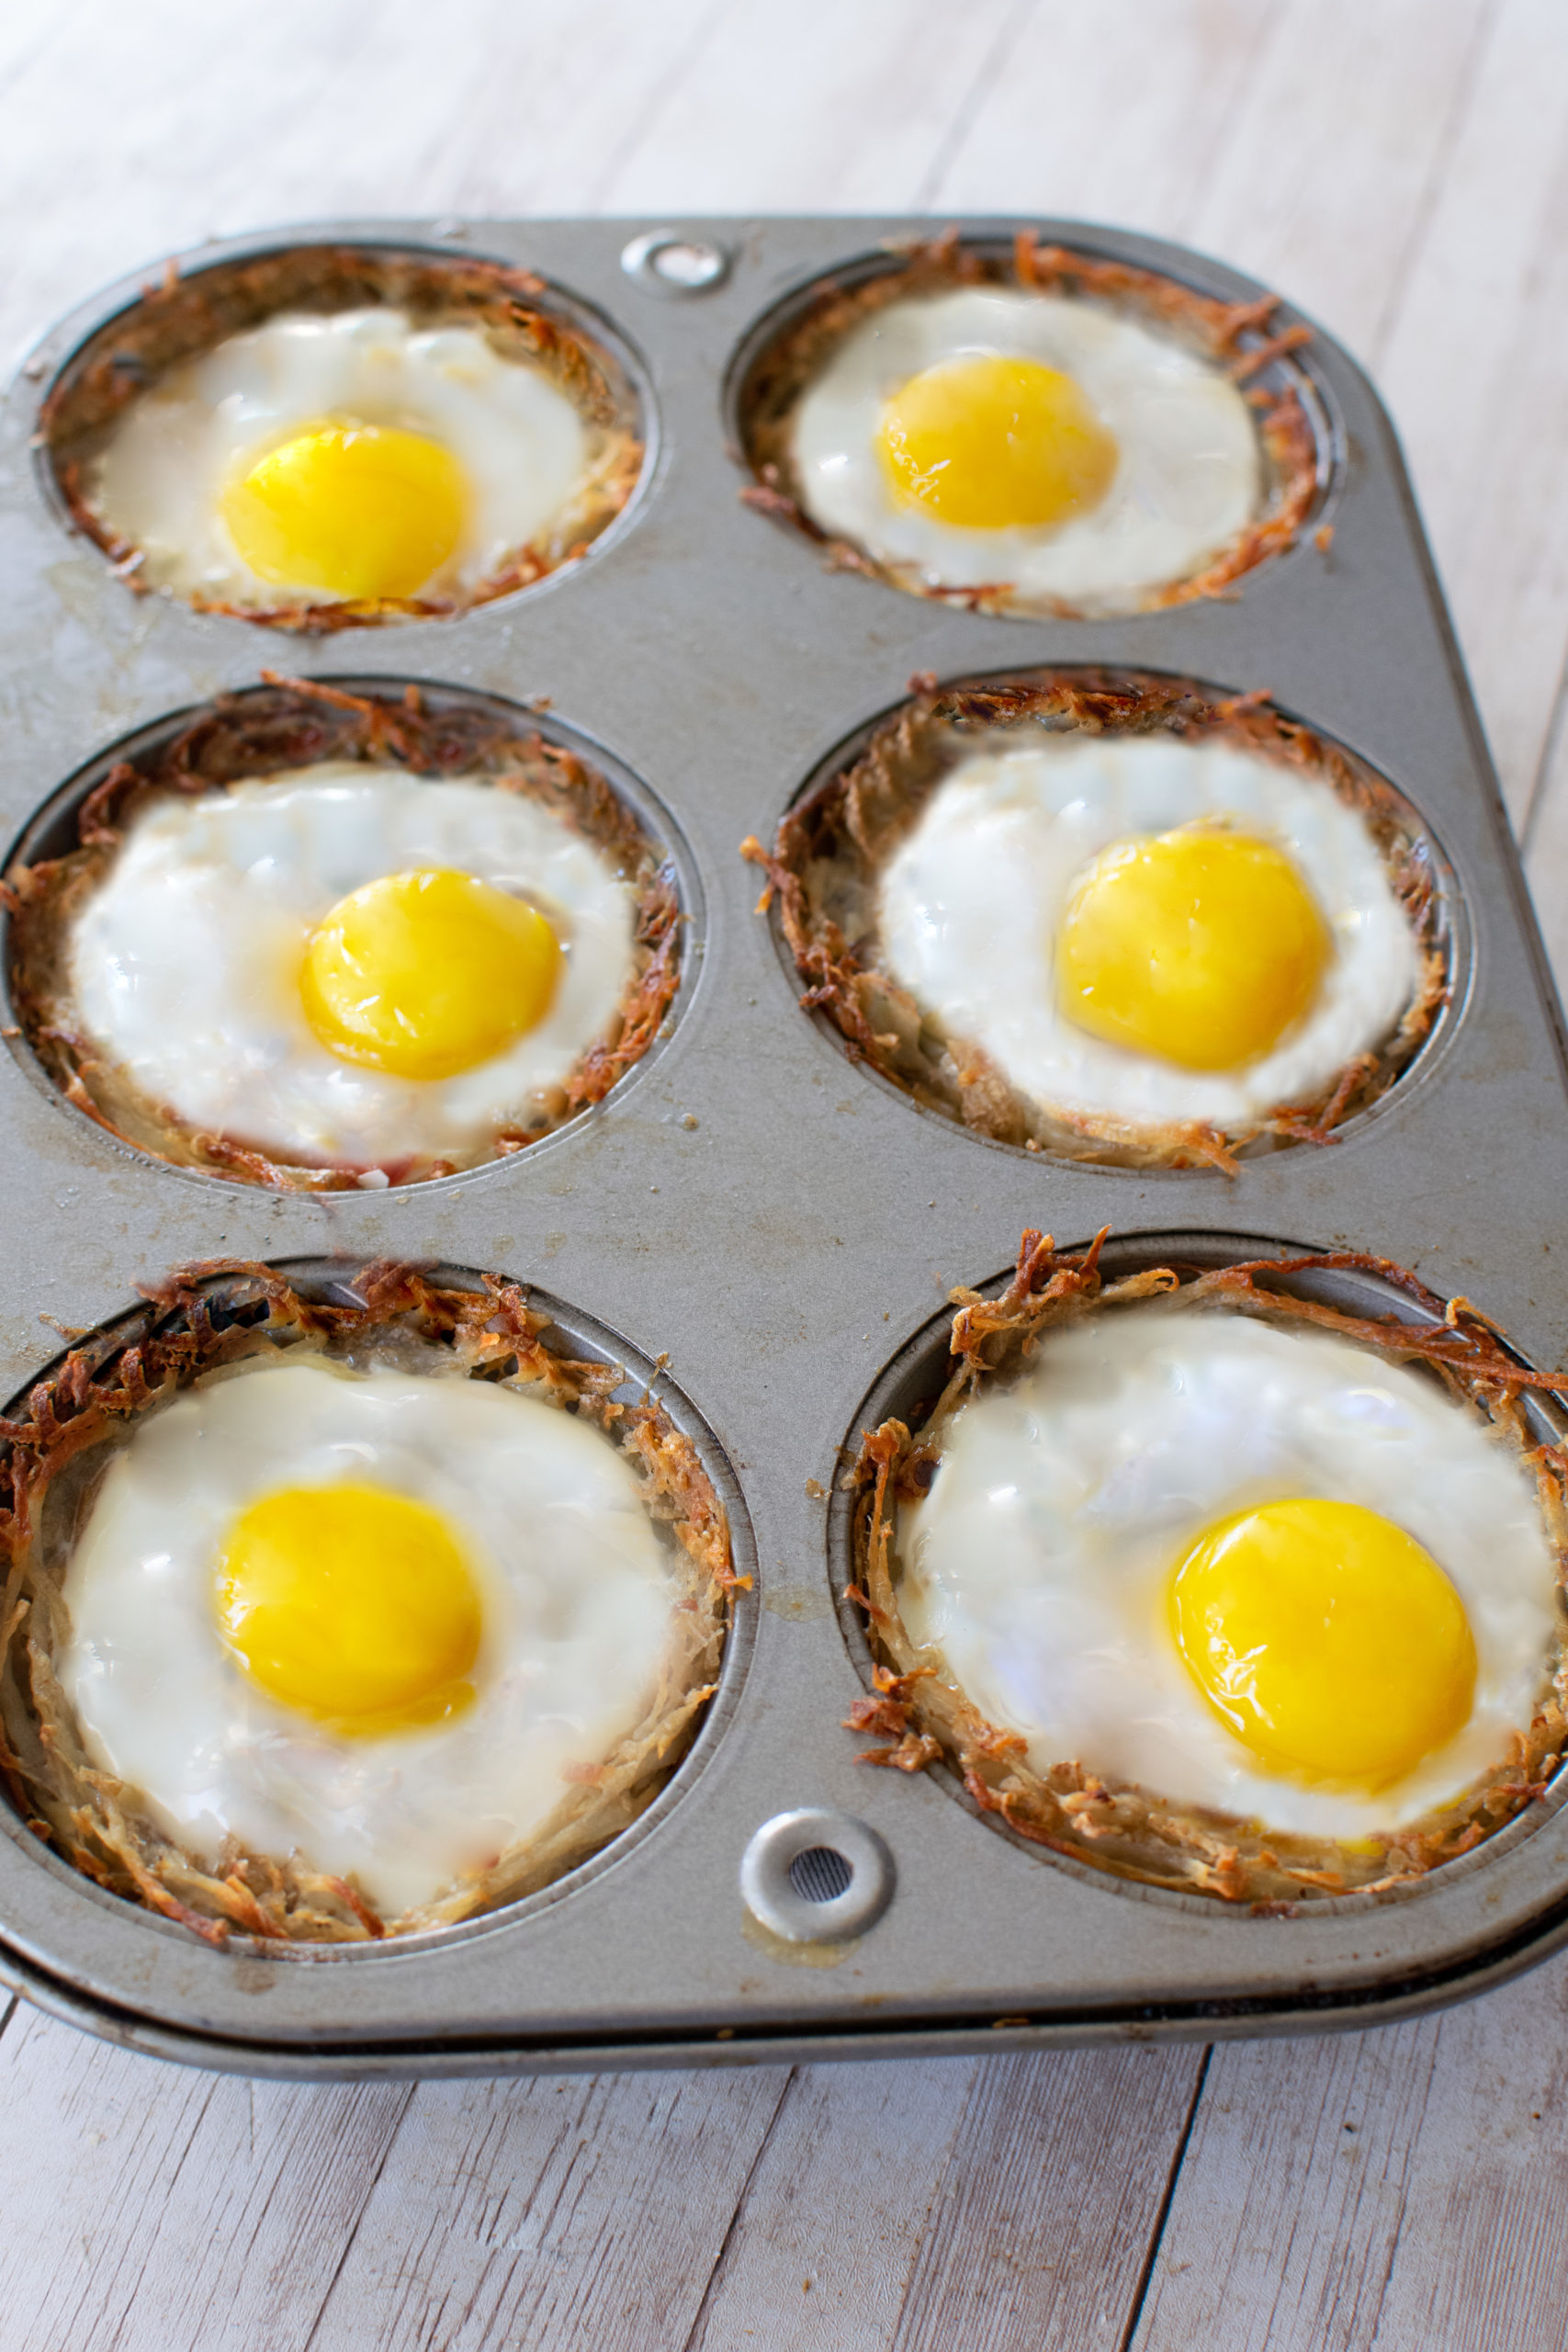
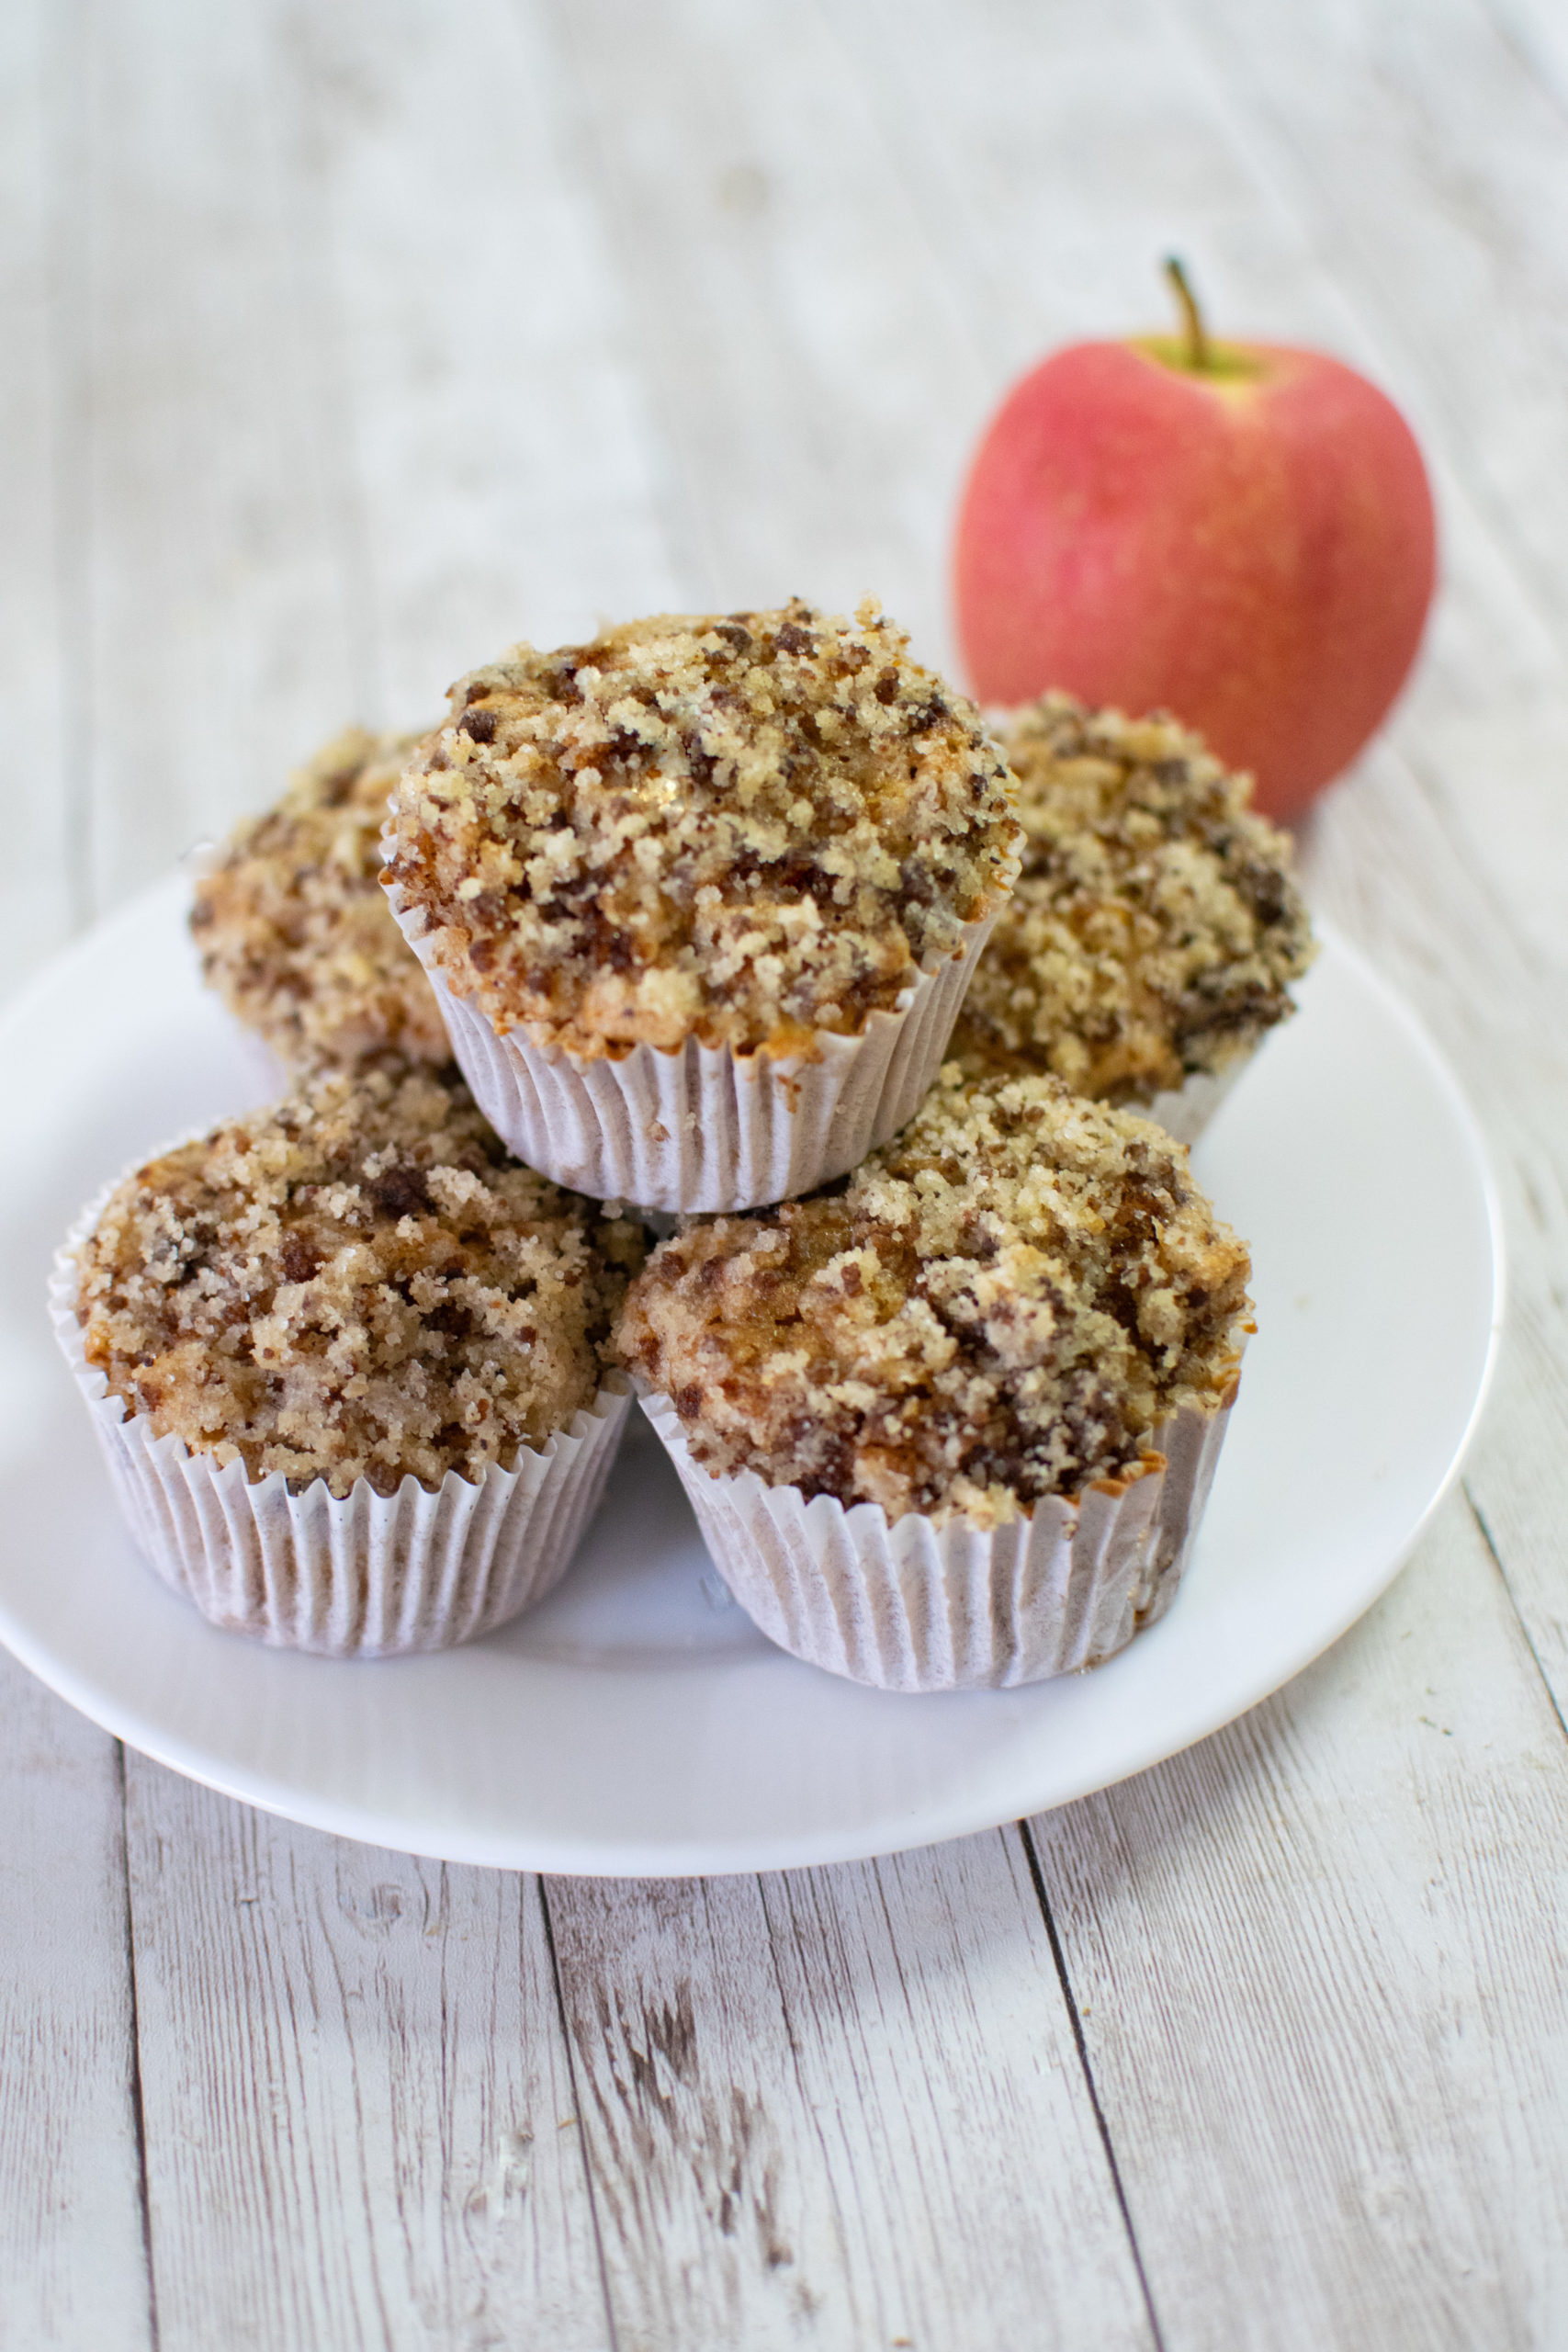
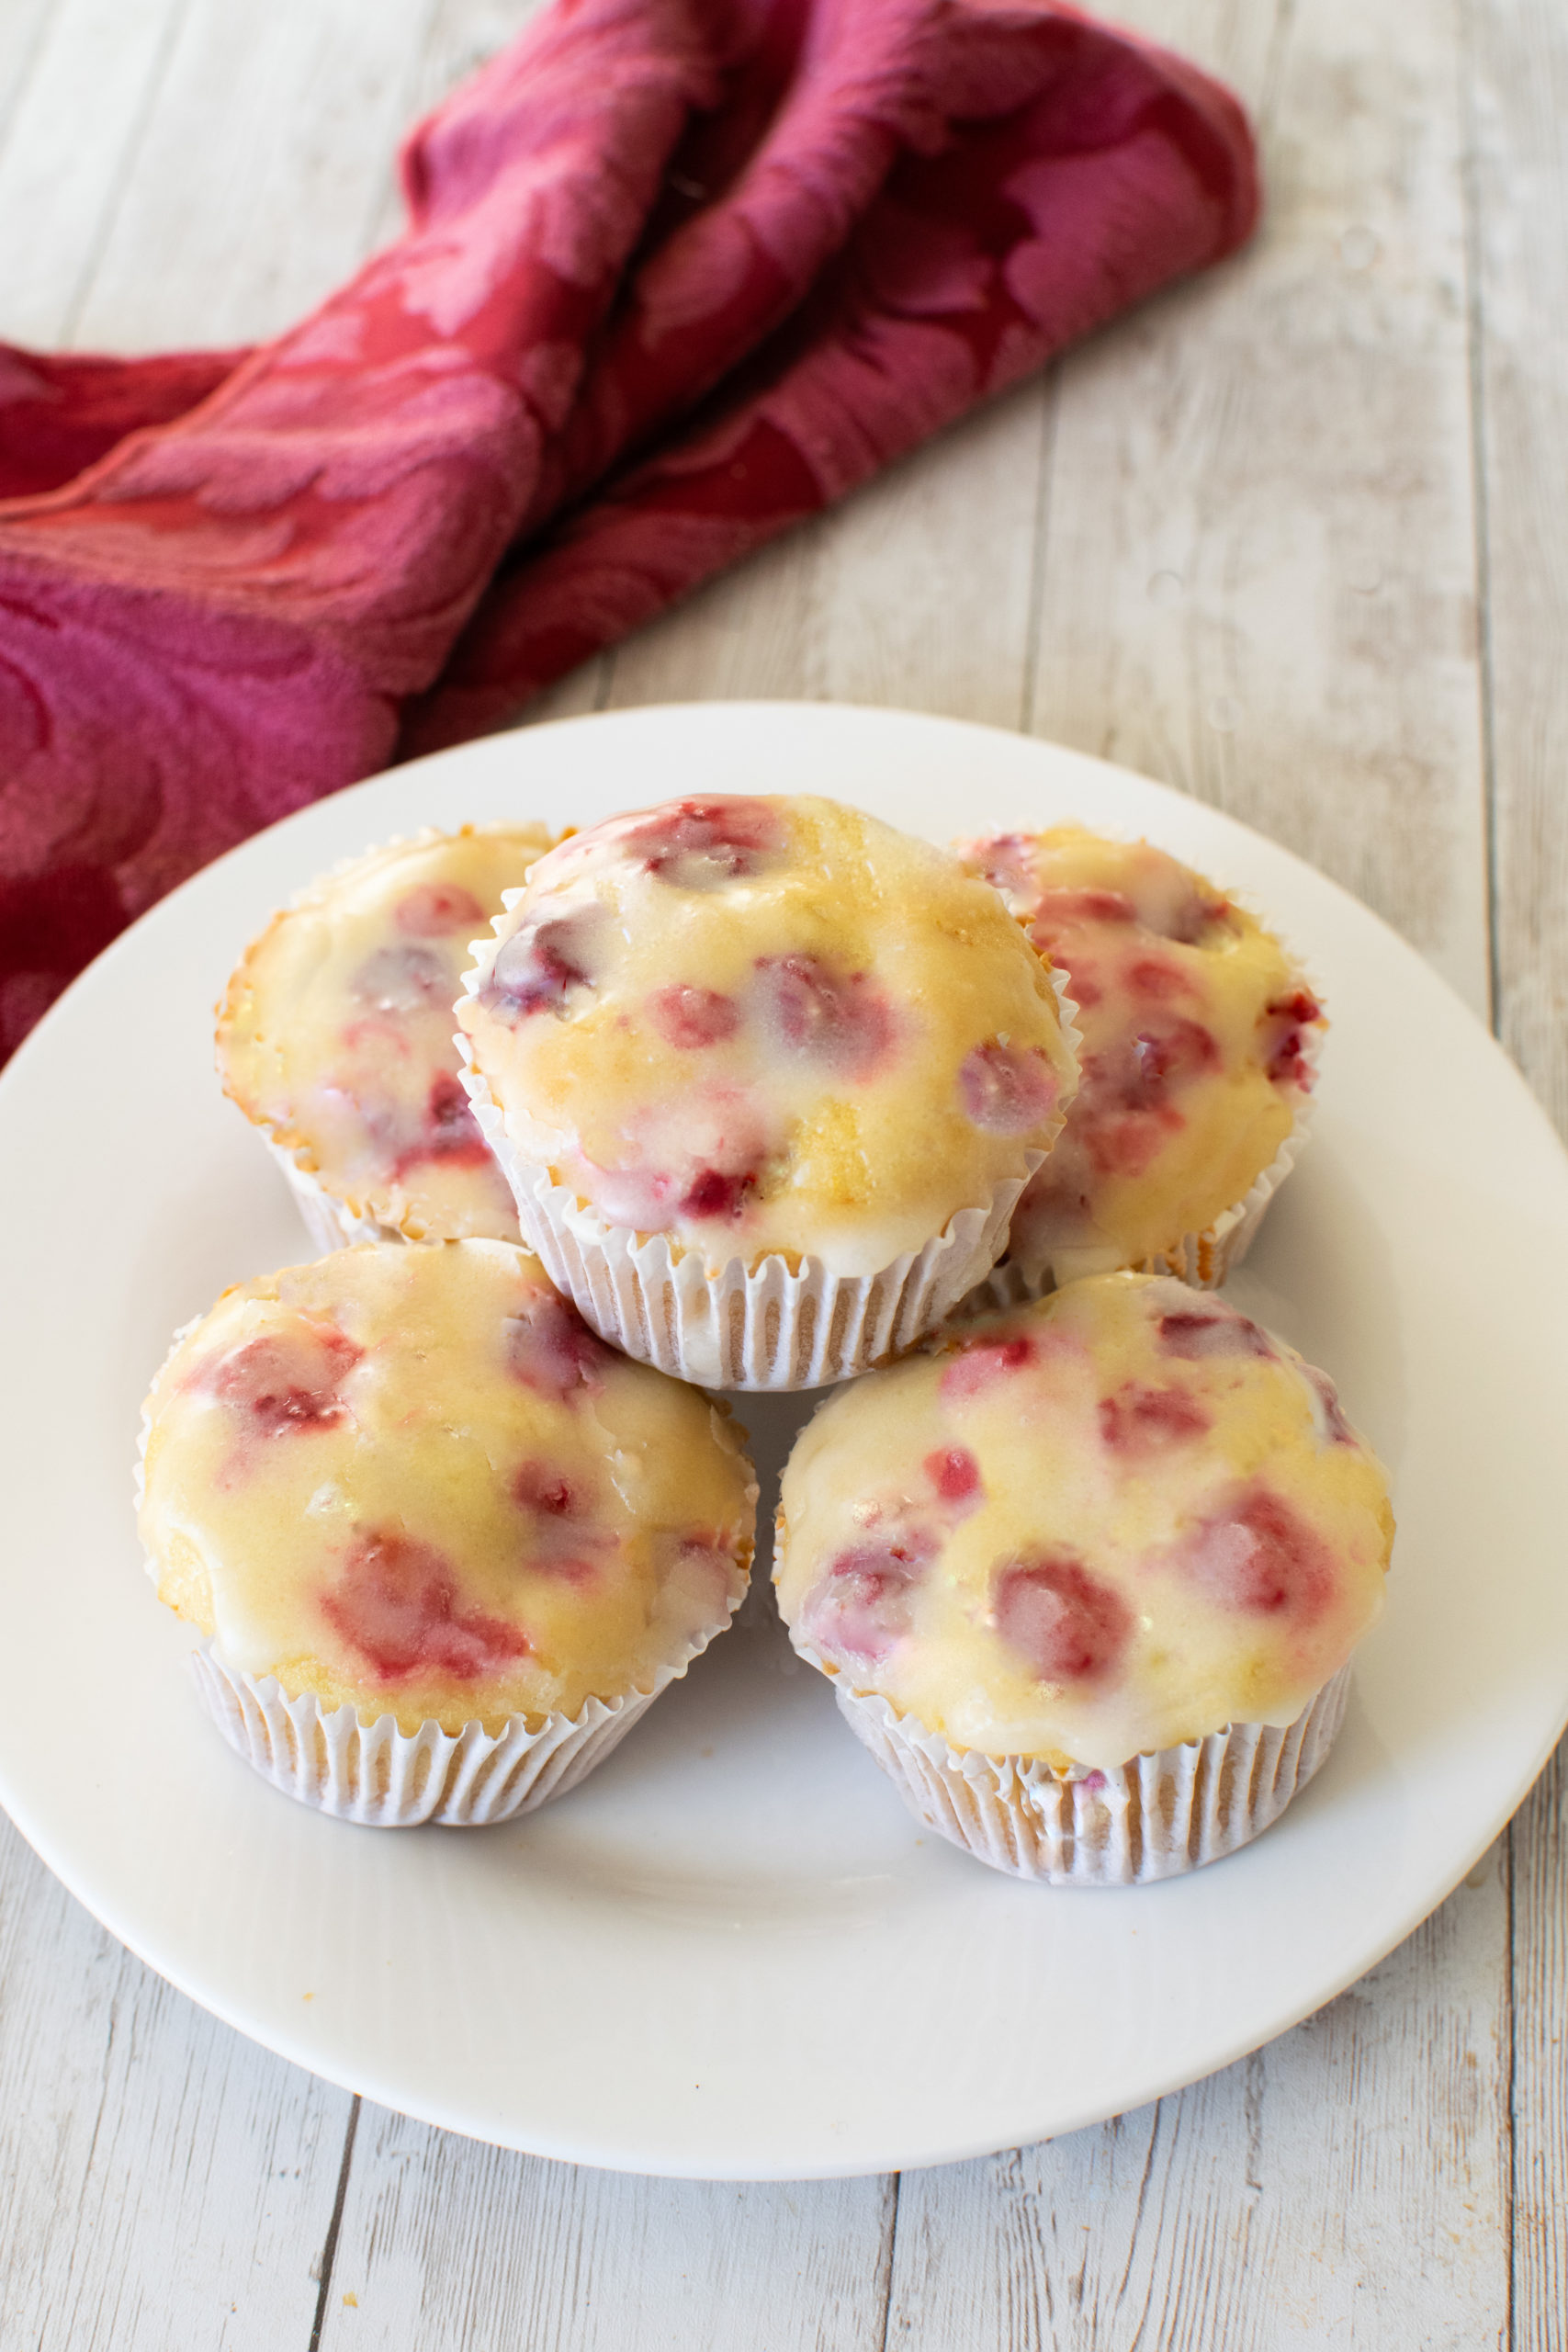
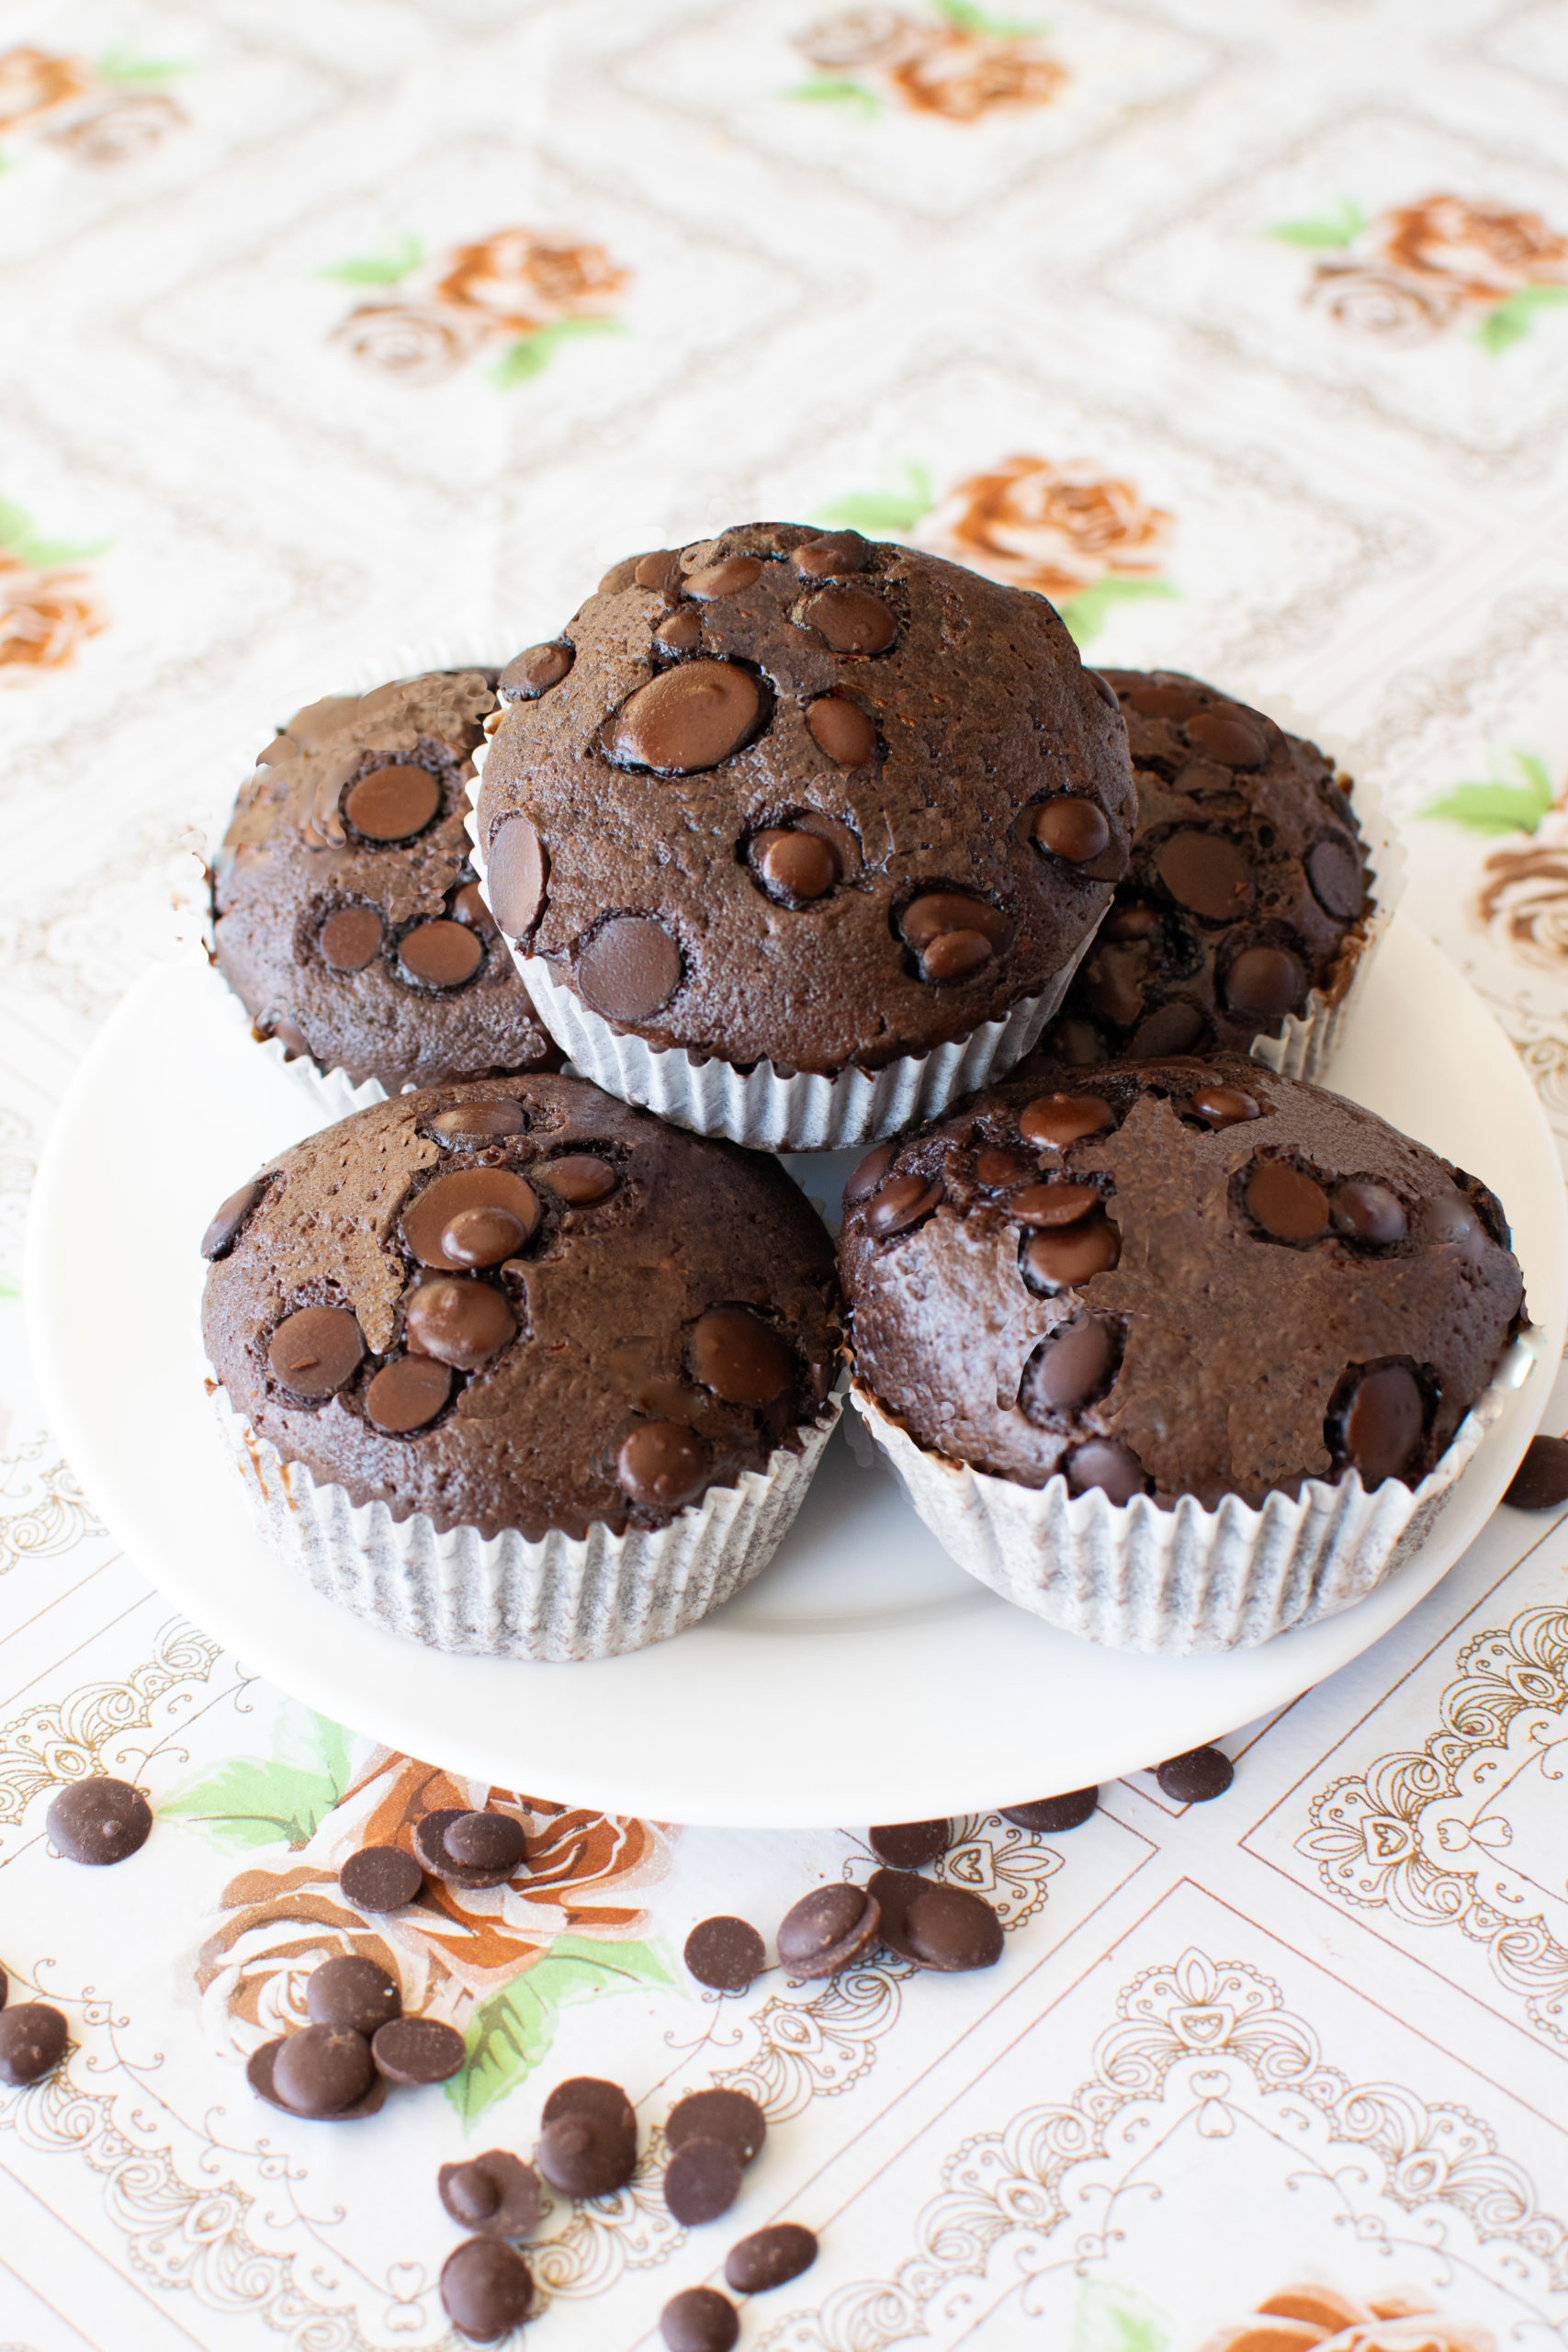
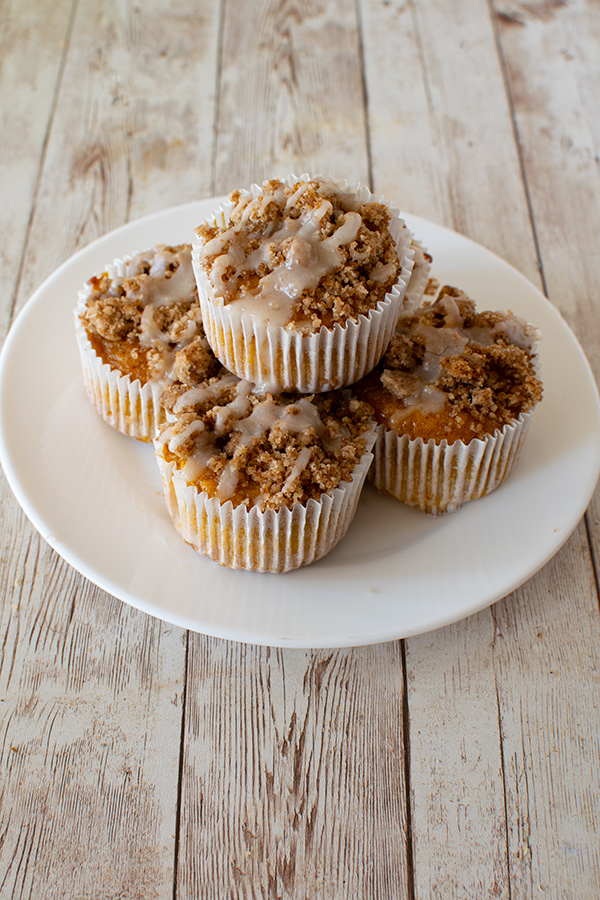
And here are some delicious muffins to enhance your mornings!

Want another homemade bread recipe?
Dairy-Free English Muffins
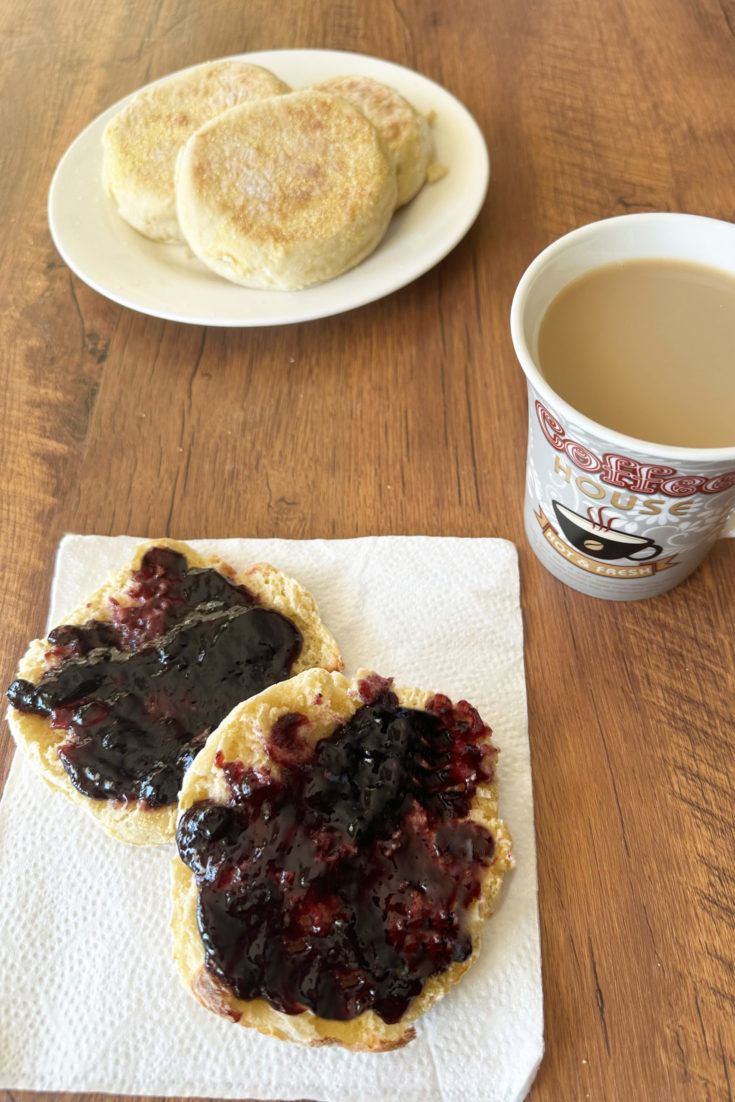
Delicious and simple English muffins, made without milk, margarine, or butter.
Ingredients
- 2 ¾ cups all-purpose flour
- 2 ¼ teaspoons active dry yeast
- 2 tablespoons white granulated sugar
- 1 teaspoon salt
- 1 ¼ cups warm water
- 2 ½ tablespoons oil
- 1 large egg
- cornmeal or semolina (or you can use farina in a pinch)
Instructions
- Mix the water, sugar, and yeast in a bowl and let sit for around 5 minutes or so until it froths to check that the yeast is active. *
- Combine the flour, sugar, and salt in a mixing bowl.
- Mix in the oil and egg with the dry ingredients and then slowly add the water mixture (if it has frothed—if it hasn't, your yeast may be dead and you will need to start this step again with live yeast). Mix well until the dough is smooth.
- Cover with plastic wrap (or a towel) and let sit until it approximately doubles in size (how long this will take will depend on the warmth of the room—I have had it take as little as half an hour in a very warm room).
- Lightly cover a surface with flour and pour the dough out onto it. It will be very sticky. Gently spread out and pat the dough until it is around ¾" thick or so and level (more or less).
- Line 1-2 baking sheets with baking paper and sprinkle with a generous amount of the cornmeal or semolina.
- Cut out round pieces of dough using a 3-inch round cutter and carefully place them on one of the baking sheets (the dough will be loose).
- Take the leftover scraps and carefully flatten together, cut out more round pieces (sprinkle more flour if you need to), and also place those on one of the baking sheets.
- Cover all of the dough circles loosely with plastic and leave to rise for around half an hour or so until they have poofed up a bit.
- Place a large skillet over a low heat until it is warm. Then, sprinkle cornmeal or semolina in the skillet.
- Carefully place the raw muffins, one at a time, in the skillet, making sure not to crowd them, and then cover the skillet.
- Cook for around 5 minutes or until the bottom has slightly browned and then carefully flip and cook the other side for around 5 minutes or until it also has slightly browned.
- Remove from the pan and set aside to cool.
- Refresh the cornmeal or semolina in between batches (ie pour out what was used from the previous batch and sprinkle fresh).
- When ready to eat, gently pry apart with a fork or cut with a serated knife and then toast.
Notes
*You can skip this step if you are SURE that your yeast is live and just add the yeast and sugar to the dry ingredients and then slowly add the water as directed.
Nutrition Information:
Yield:
12Serving Size:
1Amount Per Serving: Calories: 253Total Fat: 4gSaturated Fat: 0gUnsaturated Fat: 4gCholesterol: 16mgSodium: 191mgCarbohydrates: 47gFiber: 2gSugar: 3gProtein: 7g