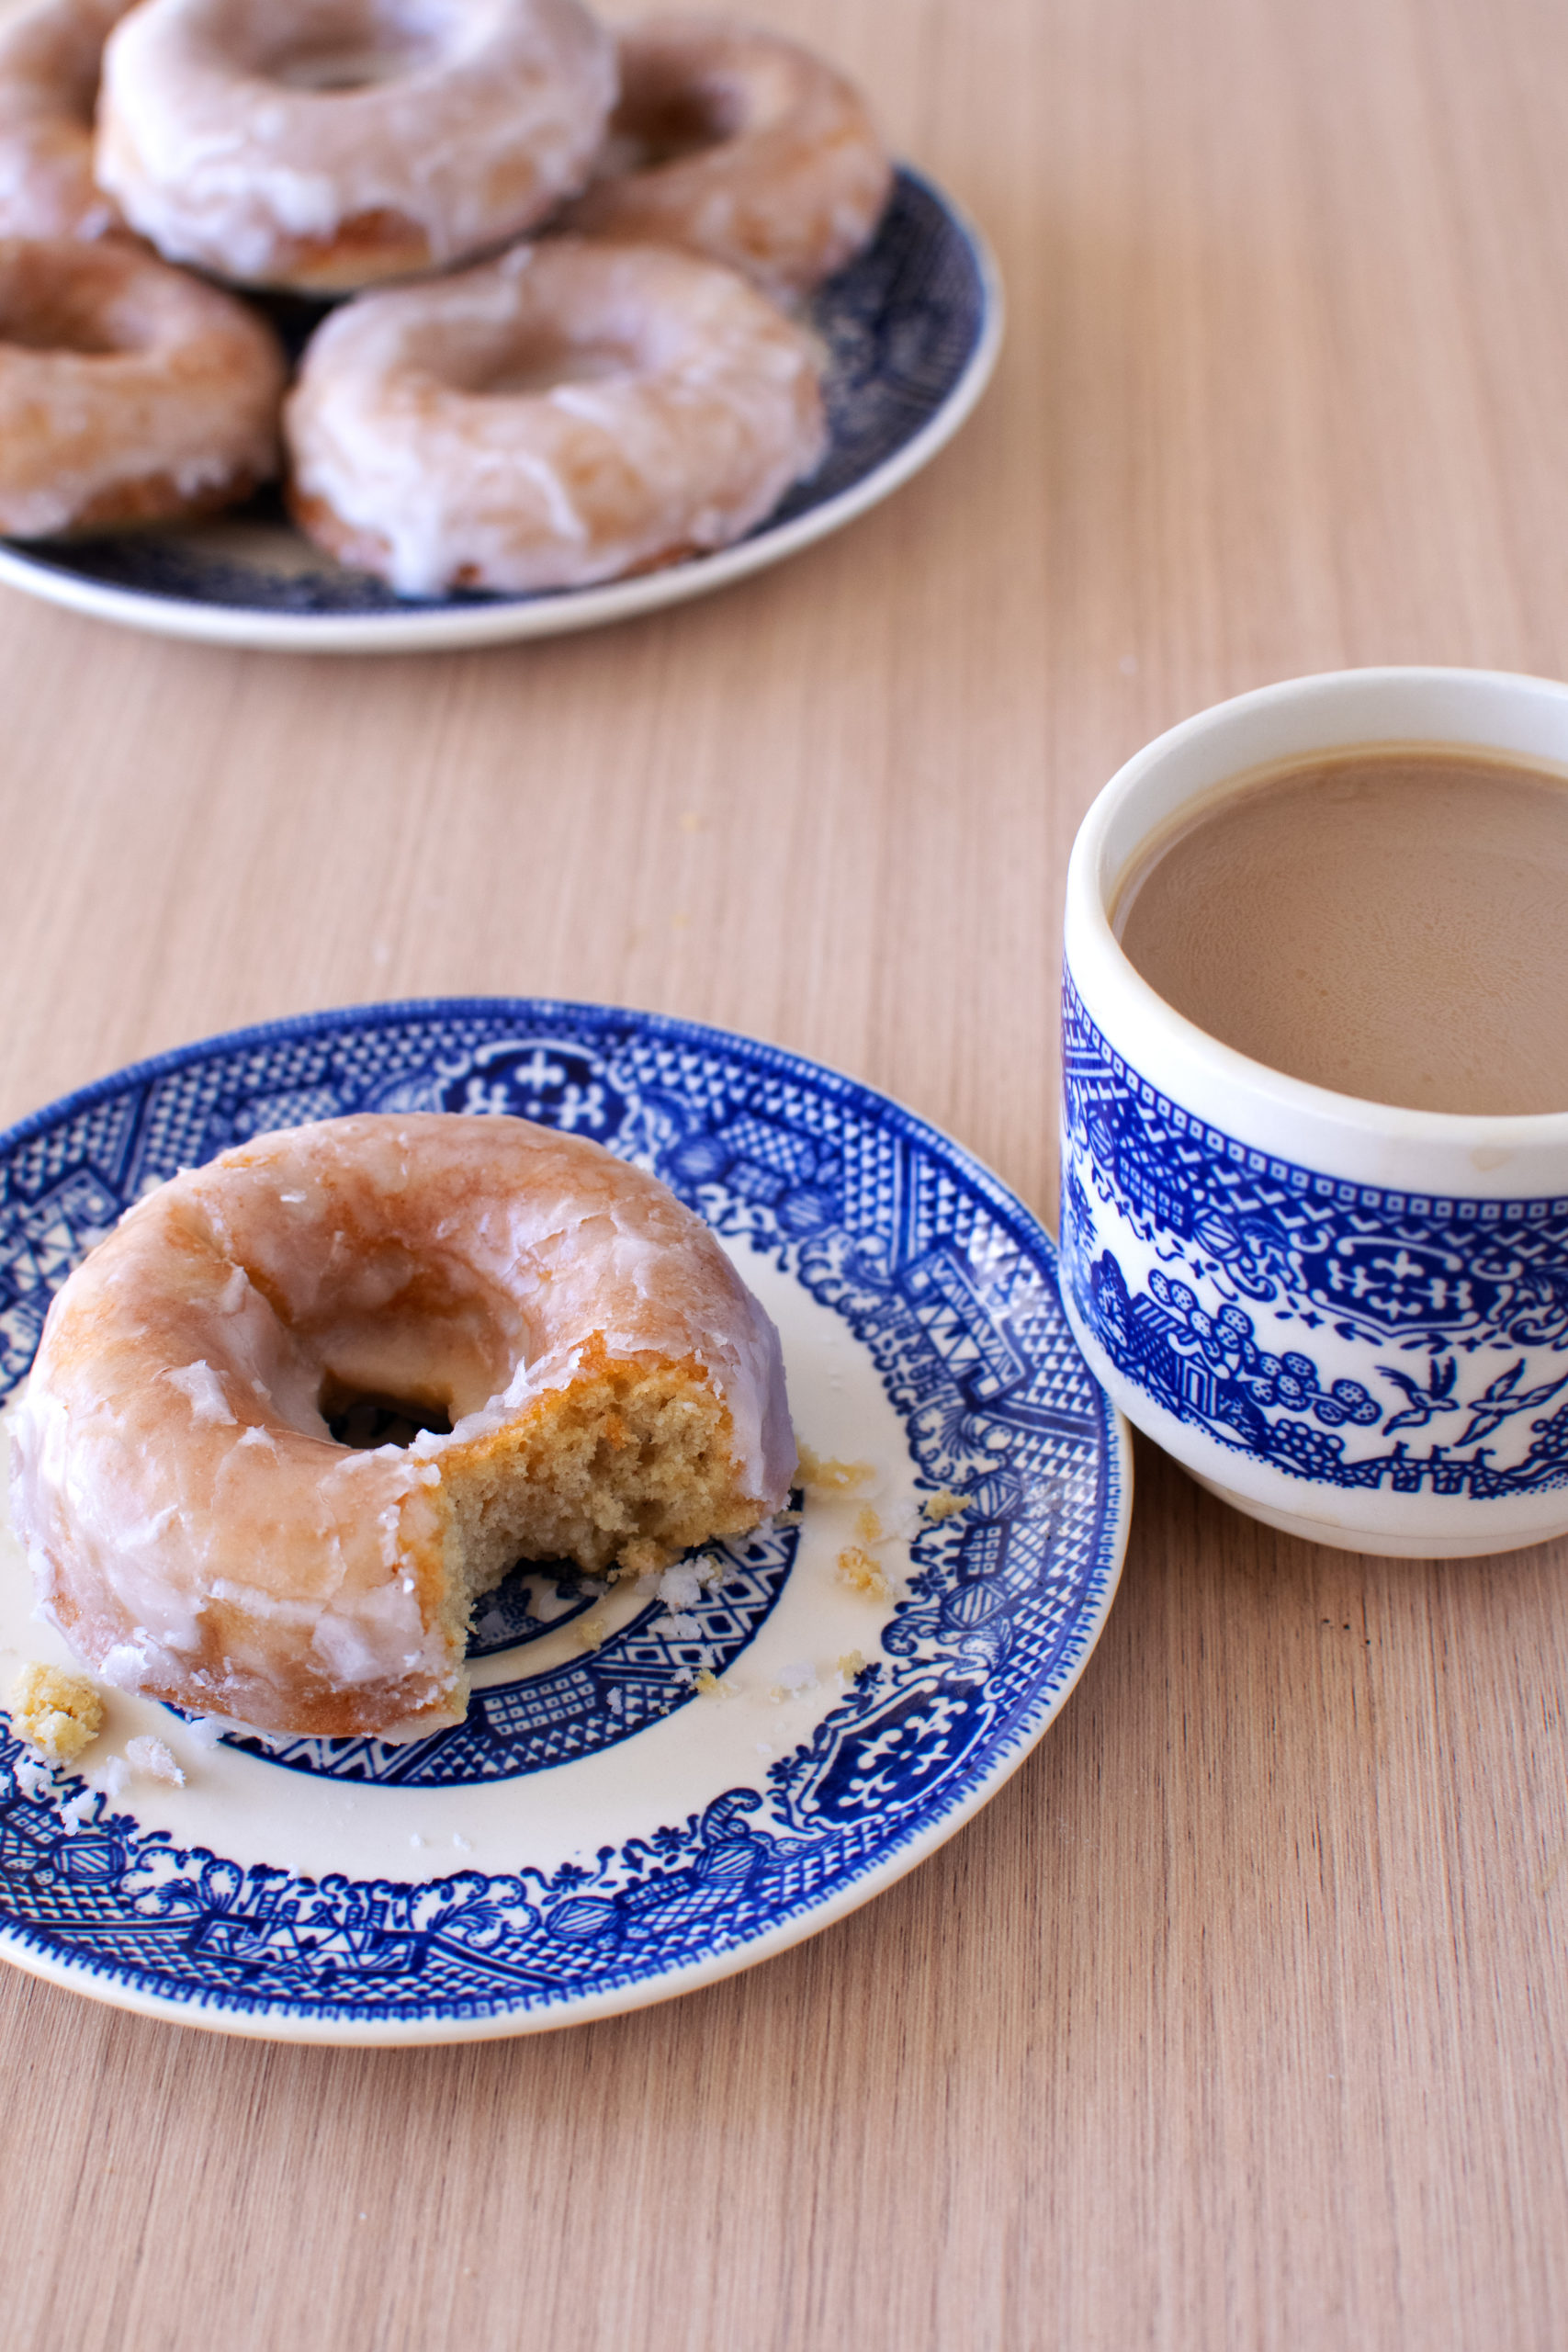
Easy Dairy-Free Glazed Doughnuts is a simple recipe for homemade, nostalgic doughnuts and doughnut holes, made without milk or butter. And if you want plain, old-fashioned doughnuts, just leave off the glaze!
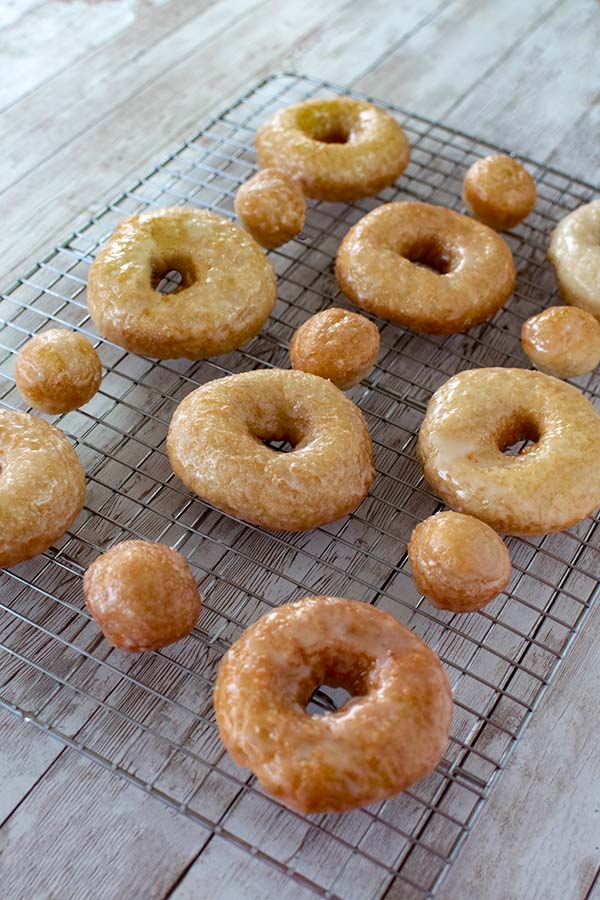
Easy Dairy-Free Glazed Doughnuts (and doughnut holes) are soft, fluffy, and made without dairy.
Dip them in a sweet glaze for a traditional, nostalgic finish, or simply skip the glaze if you prefer delicious, old-fashioned plain doughnuts.
They make a terrific addition to parties, picnics, and get-togethers. Or have them as a snack or a quick meal on the run.
They're delicious with coffee or tea or cold milk. And they dunk really well.
And, if you're making this ahead, just freeze and defrost when ready.
Note: Don't be scared by the instructions. They're simple to follow.
Frequently Asked Questions (FAQs) for glazed doughnuts
What is the best oil for frying dairy-free doughnuts?
Use a neutral oil with a high smoke point, such as canola oil, vegetable oil, or refined sunflower oil. Avoid oils with strong flavors like extra- virgin olive oil, as they will alter the taste of the doughnuts.
How do I get the glaze to stick properly?
For the best results, dip the fried doughnuts into the glaze while they are still slightly warm so the glaze melts slightly and adheres evenly, or let them cool completely if you prefer a thicker, more opaque sugar coating.
Can I make these dairy-free doughnuts ahead of time?
Fried doughnuts are always best enjoyed fresh on the day they are made. However, you can fry them ahead of time and glaze them just before serving, or keep unglazed plain doughnuts in an airtight container at room temperature for up to 1 or 2 days.
However, they freeze well, so if you need to keep them longer, freeze and defrost when ready to serve.
Frequently Asked Questions (FAQs) for baking:
Why do recipes have salt in the ingredients of baked goods?
Even though salt tends to make foods, well, salty, it actually plays other roles in baking as well.
For example, the right amount of salt balances flavors in baked goods; it can bring out the sweetness of sugar and, at the same time, prevent them from tasting overly sweet. It also can help dull the bitterness of cocoa.
Salt prevents baked goods from tasting bland, while it balances the richness of the fats. It also helps develop flavor in yeast breads and works with proteins to strengthen gluten and make it more elastic.
Salt also slows down yeast fermentation because it prevents the yeast from eating up the sugars too quickly, which otherwise would cause the dough to rise too fast and then ultimately collapse, causing bread to come out flat instead of fluffy.
Salt helps baked goods stay a little fresher for a little longer and helps delay mold from growing on them.
What is the difference between baking soda and baking powder?
Baking soda and baking powder are both synthetic leavens that help baked goods rise, but there is a difference between them.
Baking soda is pure sodium bicarbonate, which needs another ingredient that is acidic in order to be activated. When the baking soda touches the acid, it creates a carbon dioxide gas, which helps the baked good rise. Baking soda is between 3 and 4 times stronger than baking powder, and if too much baking soda is used, your baked good will end up with a metallic flavor.
Baking powder is baking soda that is already mixed with an acid and a stabilizer and will be activated by moisture and heat. Nowadays, baking powder is called double-acting because it activates twice-once when it gets wet (when you mix the ingredients together) and again when it heats in the oven.
Replacing one with the other can be tricky, and it's not recommended. However, if you have no choice, then do solid research for substituting one for the other for the baked good you are preparing so you don't ruin it.
Why do recipes with yeast say to make a mixture of the yeast, warm water, and sugar and set aside until it bubbles?
Most dough recipes that include yeast will give instructions to mix the yeast with warm water and sugar and set aside until it bubbles before using it. This is NOT part of the recipe but rather a short process called "proofing" to ensure that your yeast is alive because if it is not, your dough will not rise.
In order to proof your yeast, you need to let the yeast, warm water, and sugar mixture sit for 5-10 minutes to see if it develops foamy bubbles. If it does, your yeast is alive. Otherwise, it should not be used.
The water for proofing must be warm in order to activate the yeast because if it is too cold, nothing will happen, and if it is too hot, it will kill the yeast. Warm is between 105 and 110 degrees Fahrenheit (or 40 and 43 degrees Celsius). I usually just put my finger in the water, and if it is comfortably warm, I use it.
The sugar is used in proofing because yeast eats the sugar and releases gas (carbon dioxide), which is what causes the bubbles. If there are no bubbles, either the water was too hot or too cold, or the yeast is simply dead.
Note: If you are CERTAIN that your yeast is alive, then this process is unnecessary.
What do eggs do in baking?
Eggs are made up of two parts: the whites and the yolks (the yellow).
Egg whites are made up of protein that sets when heated and helps baked goods hold their structure. The yolks are made up of fats and vitamins and help ingredients bond.
Eggs also help baked goods rise as well as keep them moist.
It is important to have the right amount of eggs when baking, because if there are too many eggs in a recipe, this can cause a rubbery, dense texture, and if there are too few eggs, this can cause a crumbly, dry texture.
The different parts of the egg will provide different textures to baked goods; using the entire egg in baking will provide moisture and help the baked good rise evenly, using extra yolks will create richer, denser textures, and extra whites will add fluffiness but may create a drier texture.
Should I sift flour before I use it?
Unless you are concerned about bugs or clumps from moisture, the need to sift depends on your recipe.
For example, you don't need to sift for dense baking like muffins or quick breads, where lumps won't ruin the texture. But you should sift for recipes that rely on air bubbles, such as sponge or angel cakes or soufflés.
You also should sift your flour if you are making baked goods with a high fat content, such as brownies, because it is important that the fat be absorbed throughout all of the flour, and having flour clumps could prevent this.
Sifting the baking powder and/or baking soda together with the flour and salt before mixing in the other ingredients may be able to help prevent cakes from coming out lopsided, where one side may be somewhat higher than the other.
What is the difference in using oil vs. butter or margarine?
Both margarine and butter are solid fats at room temperature, and both contain more saturated fats than oil.
While margarine and butter will change from a solid to a liquid when heated, they will change back to solids when cooled again. Oil stays liquid at all temperatures. Oil also coats flour better in the preparation process before baking.
Butter "creams" better than margarine, but one cannot cream oil at all.
When converting a recipe from butter or margarine to oil, the general conversion rate is 1 to ¾ (although if you are doing more than one batch, you might need to reduce the oil because I have found that baked goods come out oily in this case).
And when converting from oil to margarine or butter, typically the ratio is 1 to 1¼.
What is the difference between real vanilla extract and imitation vanilla?
Real vanilla is made from soaking vanilla beans in alcohol, imitation vanilla is synthetic, and real vanilla costs quite a bit more than imitation. Whether or not there will be a taste difference in your baking depends on the baked good, so do some research before you decide.
I personally always use the imitation as long as I have a really good brand because it's not worth it to me to spend the extra money.
Baking equipment
I have several baking instruments in my kitchen to make the process easier:
- a stand mixer (for dough)
- a hand mixer (for things that aren't dough)
- a kitchen scale
- different sizes and shapes of baking pans, including loaf pans
- mixing bowls
- cookie sheets
- pie dishes
- dry measuring cups
- liquid measuring cups
- measuring spoons
- whisks
- rubber spatulas (for when you don't want to leave anything in the bowl)
- rolling pins
- a baking mat for rolling out dough
- baking strips
- a good supply of baking/parchment paper, including round for layer cakes
In addition to the equipment, there are the baking ingredients that I try to keep in the house at all times:
- flour
- white granulated sugar
- brown sugar (light/dark-I usually keep dark)
- confectioners' sugar (powdered sugar)
- salt
- baking powder
- baking soda
- cocoa powder
- ground cinnamon
- ground nutmeg
- ground ginger
- ground cloves
- baking chocolate
- chocolate chips
- instant dry yeast
- vanilla and/or vanilla sugar
- cooking oil/cooking spray
- margarine or butter
- eggs
- honey
- instant coffee
- various extracts (real or imitation)
I also make sure that I have the following on hand to be able to make a variety of fillings, frostings, and toppings:
- whipping cream
- powdered pudding mix
- powdered sugar
- a good chocolate spread
Then, there is the following to make last-minute quick desserts:
- packaged pie dough or ready-made pie crusts
- puff pastry dough
Lastly, it's not a bad idea to keep fun toppings, such as chopped walnuts, raisins, and the oh-so-important container of sprinkles.
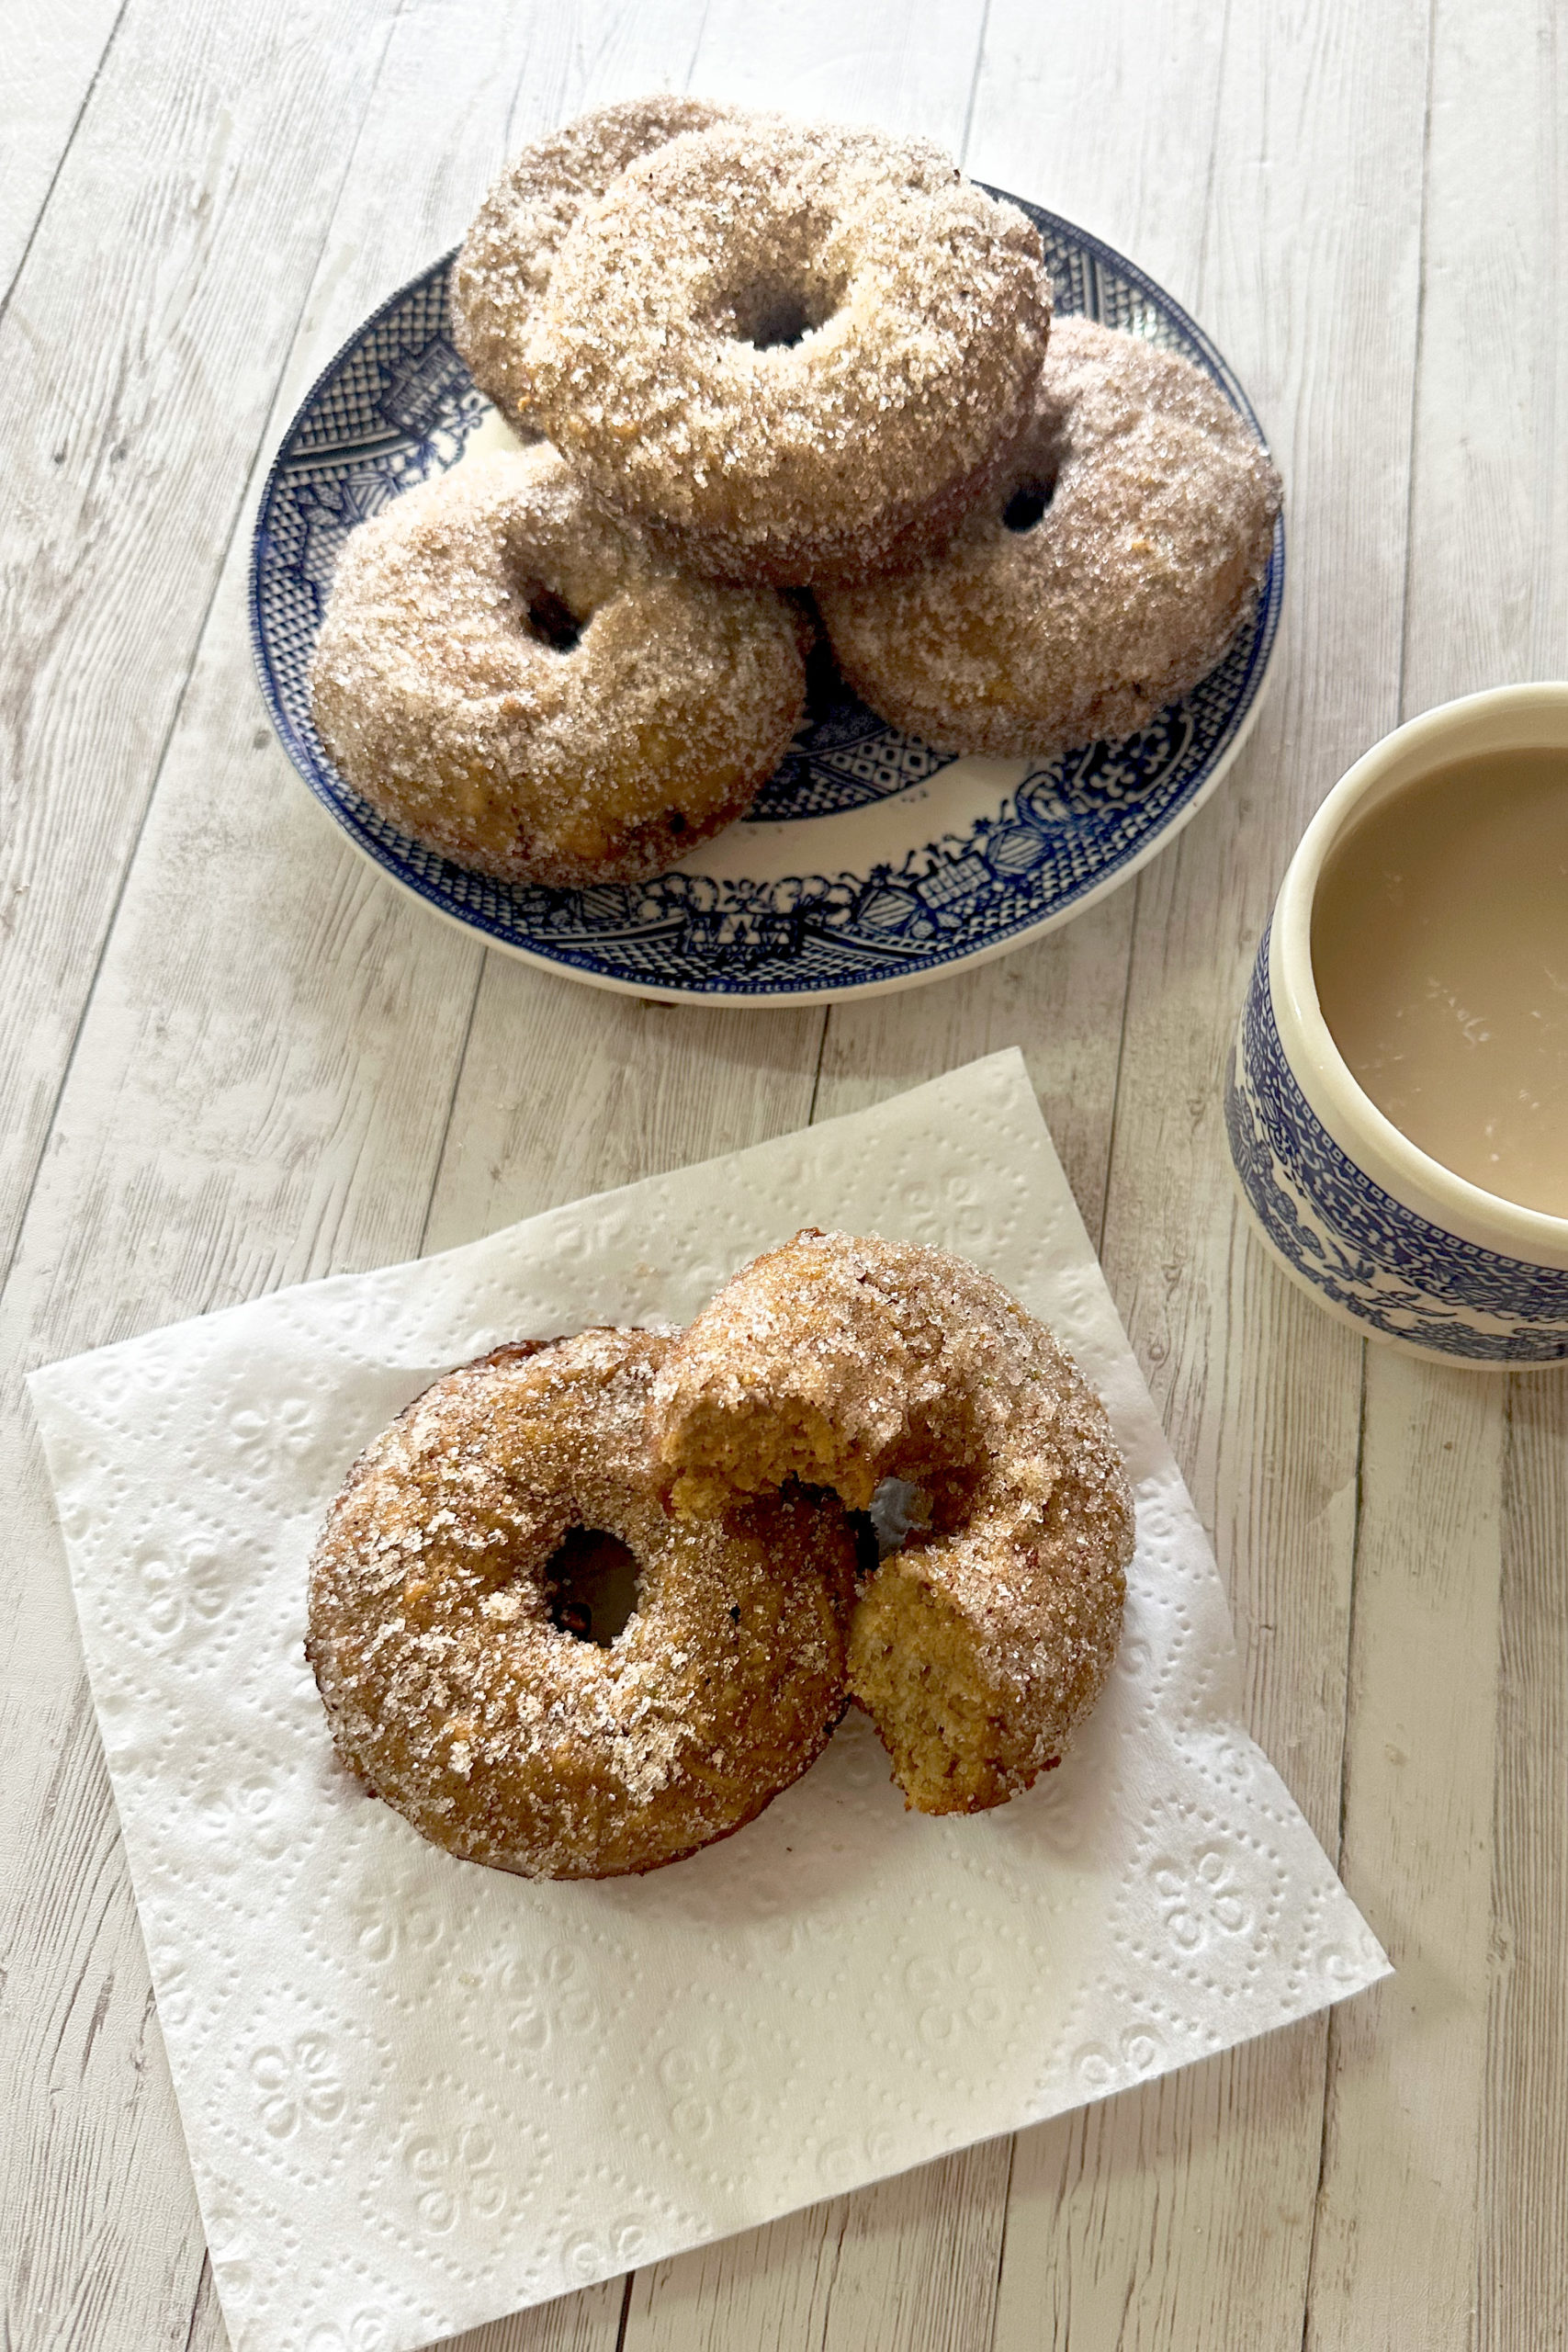
Prefer baked doughnuts instead of deep-fried? Try these!

Easy Dairy-Free Glazed Doughnuts Recipe
Delicious and soft, dairy-free glazed doughnuts and glazed doughnut holes.
Ingredients
- For the Doughnuts
- 5 cups all purpose flour (and a little more for dusting your work surface).
- 1 ½ tablespoons active dry yeast (or two packages)
- ¼ cup white granulated sugar
- ½ teaspoon salt
- 2 large eggs
- 1 cup warm water or oat milk or other non-dairy substitute
- ¼ cup oil
- more oil for frying
- For the Glaze
- 3 cups powdered sugar
- 6 tablespoons water or oat milk or other non-dairy substitute
- ½ teaspoon vanilla extract or imitation vanilla extract
Instructions
- Combine 4 ½ cups of the flour, yeast, sugar and salt in a mixing bowl.
- Mix in eggs and oil, and warm water (or other liquid) and knead for around 5 minutes. (The dough should have the consistancy of slightly sticky Play-dough. If It is too sticky, slowly add in more flour, a little at a time, until it does.)
- Cover the dough (with plastic wrap or a clean hand towel or something similar and let it sit to rise until it has approximately doubled in size (it doesn't have to be exact and the time it takes will depend on how warm the place is - the warmer, the less time it will take - but count on a couple of hours or so).
- When ready, take the dough out of the bowl and roll it out into a rectangle shape (doesn't have to be perfect) on to a clean and flour-dusted surface. The dough should be around ¾ inch thick.
- Prepare a baking sheet with baking (parchment) paper to set the doughnuts on after you have cut them out.
- Take a doughnut cutter or two round cookie cutters (one 3 inches in diameter for the doughnut and a smaller 1 inch one for the hole) and cut out doughnuts. There should be 12 of them. Of course, if you make larger doughnuts, there will be less and if you make smaller ones, there will be more. You can make more doughnuts out of the scraps if you want, but leave a little aside to check the heat of the oil.
- Place the doughnuts and the holes on the baking sheet and let sit to rise until they have again approximately doubled in size (this should take less time than before since the dough is not one large clump).
- When the dough looks almost at double size, pour around 2 inches of oil into a pot or pan and heat on medium until a piece of dough dropped in begins to fry (or, if you prefer, until the oil reaches 350°F on a deep-fry thermometer)
- Carefully take the doughnuts, one at a time, and drop them in the hot oil. Be careful not to crowd the pot.
- Fry on one side until golden brown and then flip with a fork or tongs or something similar.
- Remove when ready and place on a paper towel lined baking sheet or wire rack to cool.
- Repeat until all the doughnuts are done and then carefully place the doughnut holes into the hot oil.
- Stir them in the oil until they are golden brown and remove to cool.
- While they are cooling, prepare the glaze by mixing the sugar, water or other dairy free liquid, and vanilla in a bowl until smooth.
- Dip each doughnut and doughnut hole into the glaze separately and place on baking paper lined baking sheet or wire rack to set.
In a medium bowl, whisk together powdered sugar, milk, and vanilla until smooth. Dip warm donuts and donut holes into the glaze and return to the write rack to set.
Notes
* If you are not sure that your yeast is fresh, then proof it first by pouring the yeast into a bowl along with the warm liquid and around a tablespoon of the sugar and let sit for around 10 minutes to get bubbly, then add it to the flour and the rest. If it doesn't become bubbly, your yeast is not good and your dough will not rise.
Nutrition Information:
Yield:
12Serving Size:
1Amount Per Serving: Calories: 435Total Fat: 9gSaturated Fat: 1gTrans Fat: 0gUnsaturated Fat: 7gCholesterol: 33mgSodium: 121mgCarbohydrates: 82gFiber: 2gSugar: 38gProtein: 8g