Easy Dairy-Free Banana Nut Bread is a simple, one-bowl recipe for a delicious and moist banana loaf with walnuts, using overripe bananas and oil, made without milk or butter.
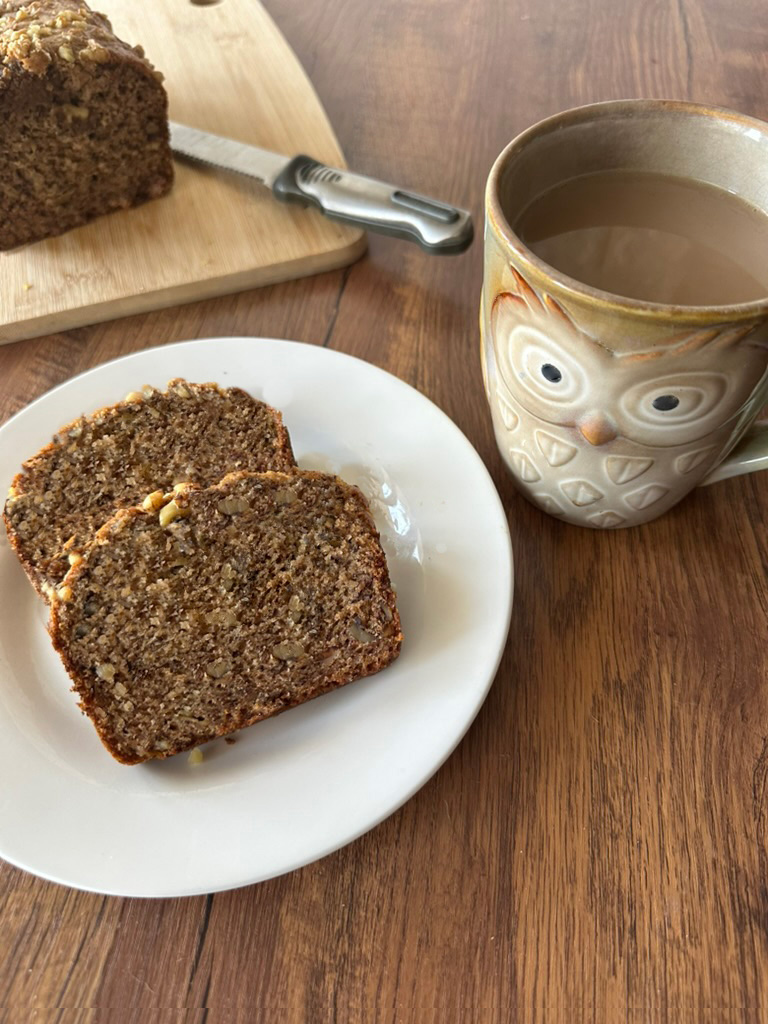
Dairy-free banana nut bread combines the amazing tastes of banana and walnuts.
It's simple banana quick bread made with basic pantry ingredients, and it's terrific for anyone avoiding dairy, because it's made without butter or milk.
This banana loaf also contains no margarine because it's made with oil.
Dairy-free banana nut bread is delicious to have with your morning coffee or tea, and it's a comforting treat at the end of a busy day.
Plus, it's a terrific way to use up your overripe bananas instead of throwing them out.
A little about bananas
Bananas are a healthy and comparatively inexpensive fruit. The most popular type found in grocery stores starts out (and is shipped to destination countries) green but turns yellow by the ripening process. Unripe, they are not sweet but get softer and sweeter as they ripen.
Bananas normally have approximately 80-110 calories, depending on size, and are almost exclusively made up of carbohydrates and water, with only a little protein and no fat. In addition, bananas have nutrients, antioxidants, and a variety of other health benefits.
When used in baking, the overripe bananas (the kind that you would often throw out as non-edible) give the most flavor. And you can freeze bananas (even those that are ripe and flavorful enough for good eating).
FAQs for Easy Dairy-Free Banana Nut Bread
Can I substitute the walnuts in this recipe?
Yes, pecans, sliced almonds, or hazelnuts make excellent substitutes if you prefer a different nut or want to switch up the flavor.
Can I make this banana bread nut-free?
Yes, simply omit the walnuts entirely or replace them with dairy-free chocolate chips or other favorite add-ins.
How do I store leftover banana nut bread?
Store the loaf in an airtight container at room temperature for up to 3 days, or keep it in the refrigerator for up to a week. You can also freeze individual slices for up to 2 months.
Why use oil instead of butter or margarine in banana bread?
Using oil instead of solid fats coats the flour proteins evenly and keeps the loaf exceptionally moist for days longer without altering the rich banana flavor.
What is the best way to ripen bananas quickly for baking?
If the only bananas you have are still firm, you can try baking them unpeeled on a baking sheet at 150°C for 15 to 20 minutes until the skins turn black and shiny to make them softer and sweeter for baking.
General Frequently Asked Questions (FAQs) about baking
Why do recipes have salt in the ingredients of baked goods?
Even though salt tends to make foods, well, salty, it actually plays other roles in baking as well.
For example, the right amount of salt balances flavors in baked goods; it can bring out the sweetness of sugar and, at the same time, prevent them from tasting overly sweet. It also can help dull the bitterness of cocoa.
Salt prevents baked goods from tasting bland, while it balances the richness of the fats. It also helps develop flavor in yeast breads and works with proteins to strengthen gluten and make it more elastic.
Salt also slows down yeast fermentation because it prevents the yeast from eating up the sugars too quickly, which otherwise would cause the dough to rise too fast and then ultimately collapse, causing bread to come out flat instead of fluffy.
Salt helps baked goods stay a little fresher for a little longer and helps delay mold from growing on them.
What is the difference between baking soda and baking powder?
Baking soda and baking powder are both synthetic leavens that help baked goods rise, but there is a difference between them.
Baking soda is pure sodium bicarbonate, which needs another ingredient that is acidic in order to be activated. When the baking soda touches the acid, it creates a carbon dioxide gas, which helps the baked good rise. Baking soda is between 3 and 4 times stronger than baking powder, and if too much baking soda is used, your baked good will end up with a metallic flavor.
Baking powder is baking soda that is already mixed with an acid and a stabilizer and will be activated by moisture and heat. Nowadays, baking powder is called double-acting because it activates twice-once when it gets wet (when you mix the ingredients together) and again when it heats in the oven.
Replacing one with the other can be tricky, and it's not recommended. However, if you have no choice, then do solid research for substituting one for the other for the baked good you are preparing so you don't ruin it.
What do eggs do in baking?
Eggs are made up of two parts: the whites and the yolks (the yellow).
Egg whites are made up of protein that sets when heated and helps baked goods hold their structure. The yolks are made up of fats and vitamins and help ingredients bond.
Eggs also help baked goods rise as well as keep them moist.
It is important to have the right amount of eggs when baking, because if there are too many eggs in a recipe, this can cause a rubbery, dense texture, and if there are too few eggs, this can cause a crumbly, dry texture.
The different parts of the egg will provide different textures to baked goods; using the entire egg in baking will provide moisture and help the baked good rise evenly, using extra yolks will create richer, denser textures, and extra whites will add fluffiness but may create a drier texture.
What is the difference in using oil vs butter or margarine?
Both margarine and butter are solid fats at room temperature, and both contain more saturated fats than oil.
While margarine and butter will change from a solid to a liquid when heated, they will change back to solids when cooled again. Oil stays liquid at all temperatures. Oil also coats flour better in the preparation process before baking.
Butter "creams" better than margarine, but one cannot cream oil at all.
When converting a recipe from butter or margarine to oil, the general conversion rate is 1 to ¾ (although if you are doing more than one batch, you might need to reduce the oil because I have found that baked goods come out oily in this case).
And when converting from oil to margarine or butter, typically the ratio is 1 to 1¼.
What is the difference between real vanilla extract and imitation vanilla?
Real vanilla is made from soaking vanilla beans in alcohol, imitation vanilla is synthetic, and real vanilla costs quite a bit more than imitation. Whether or not there will be a taste difference in your baking depends on the baked good, so do some research before you decide.
I personally always use the imitation as long as I have a really good brand because it's not worth it to me to spend the extra money.
A little about quick breads
A quick bread is any bread that uses a chemical agent to leaven bread rather than a biological one, such as yeast.
Quick breads can be prepared quickly without the need to wait for them to rise.
For example, this recipe is a quick bread, as it does not use yeast but rather uses baking soda as its leavening agent.
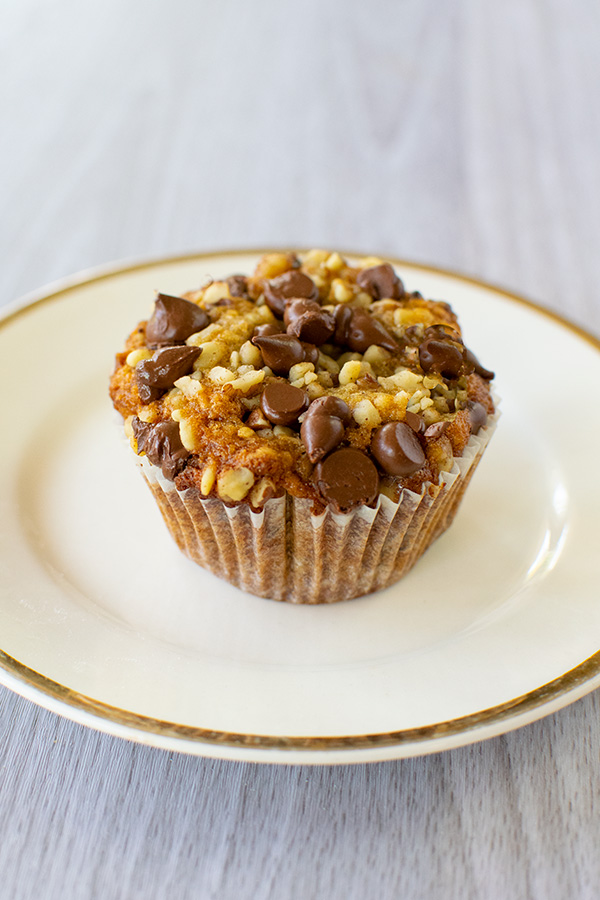
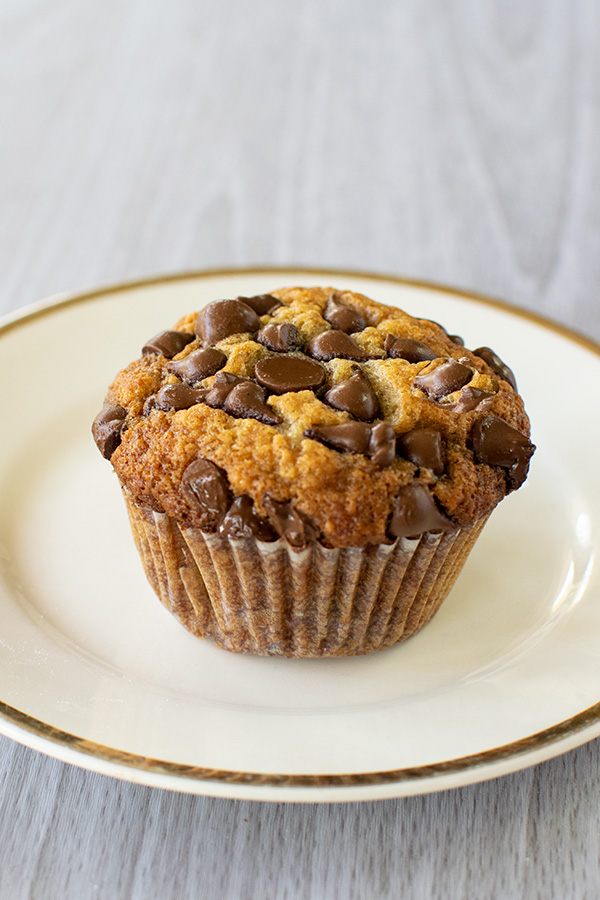
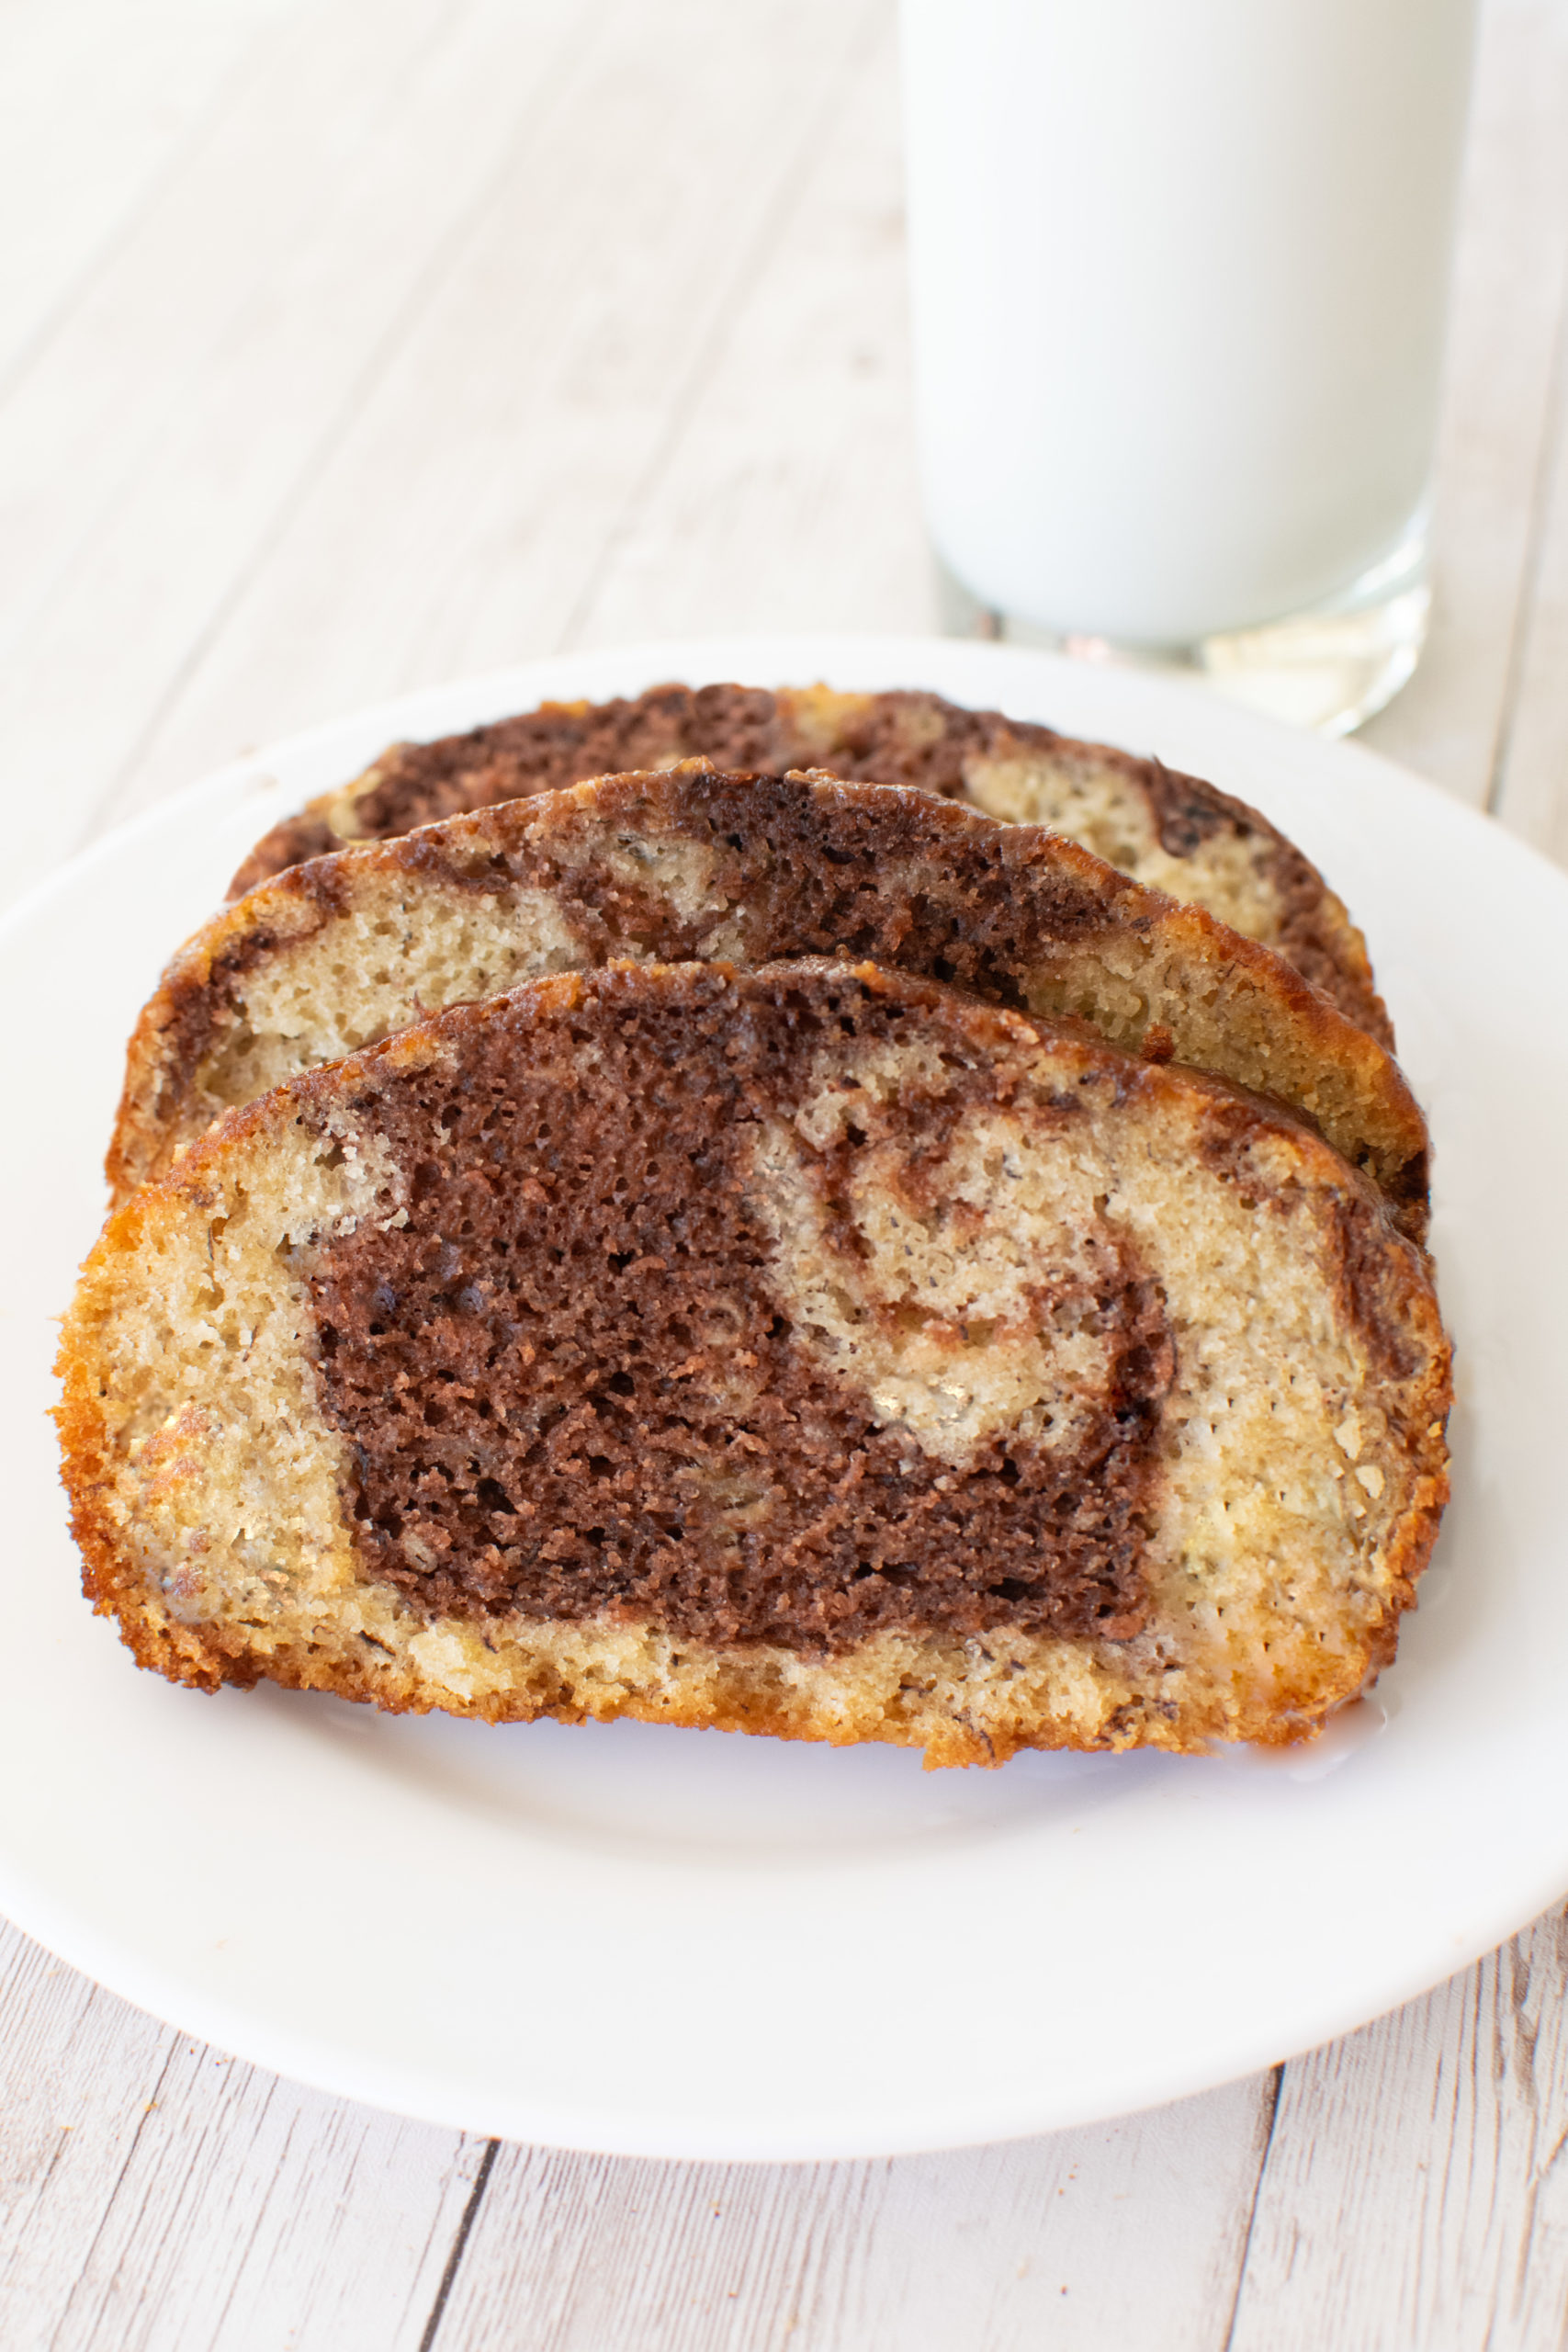
Love banana baked goods?
Easy Dairy-Free Banana Nut Bread Recipe
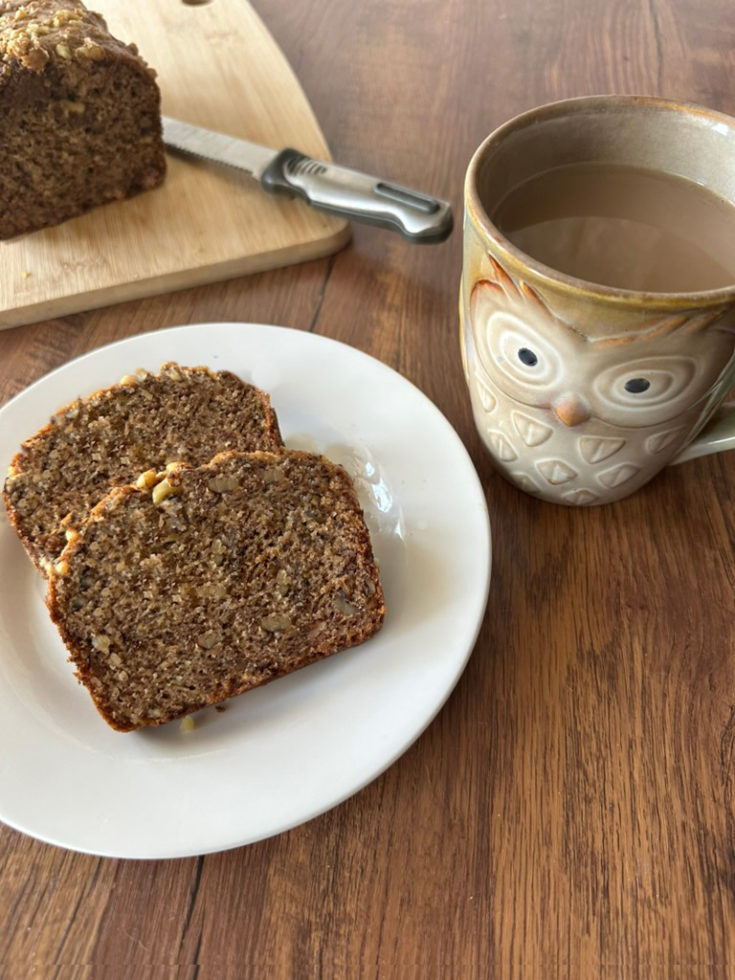
Delicious and dairy-free banana bread with walnuts, made without butter or milk.
Ingredients
- 1 ½ cup all-purpose flour
- ¾ granulated white sugar
- 1 teaspoon cinnamon
- 1 teaspoon baking soda
- ½ teaspoon salt
- 2 eggs
- ⅓ cup oil
- 2 teaspoons vanilla
- 4 medium or 3 large bananas, overripe
- ¼ water (if you prefer a more dense banana bread, leave out the water)
- ½ cup ground walnuts, or more as desired
- chopped walnuts (optional, for topping)
Instructions
- Whisk together the flour, sugar, cinnamon, baking soda, and salt.
- Mix in the eggs, oil, and vanilla.
- Add in the bananas and most of the ground walnuts and mix well.
- Pour into a standard loaf pan lined on the bottom with baking paper. Sprinkle the rest of the ground walnuts on top.
- Bake at 350° for approximately 50 minutes or until the toothpick test (slide a toothpick into the middle of the loaf) comes out clean. Personally, I just lightly touch the top with my fingers to see if the loaf is just firm to the touch.
- Remove from oven when ready and let cool for 10-15 minutes.
- To remove the cake from the tin, slide a butter knife around the edges of the cake, between the pan and the cake, and gently turn it over onto a plate. Then flip it back over onto a serving plate.
Notes
* or freeze regular ripe bananas ahead of time and defrost when ready to use. The consistency will be good for this recipe.
Nutrition Information:
Yield:
8Serving Size:
1Amount Per Serving: Calories: 329Total Fat: 22gSaturated Fat: 2gUnsaturated Fat: 20gCholesterol: 47mgSodium: 352mgCarbohydrates: 28gFiber: 3gSugar: 8gProtein: 6g